Blown Glass Lighting Comes Three Ways
Hand blown glass lighting is made three ways, and the process decides how much a set varies and whether a reorder can match. What to ask about the mold, and what the ceiling has to carry.
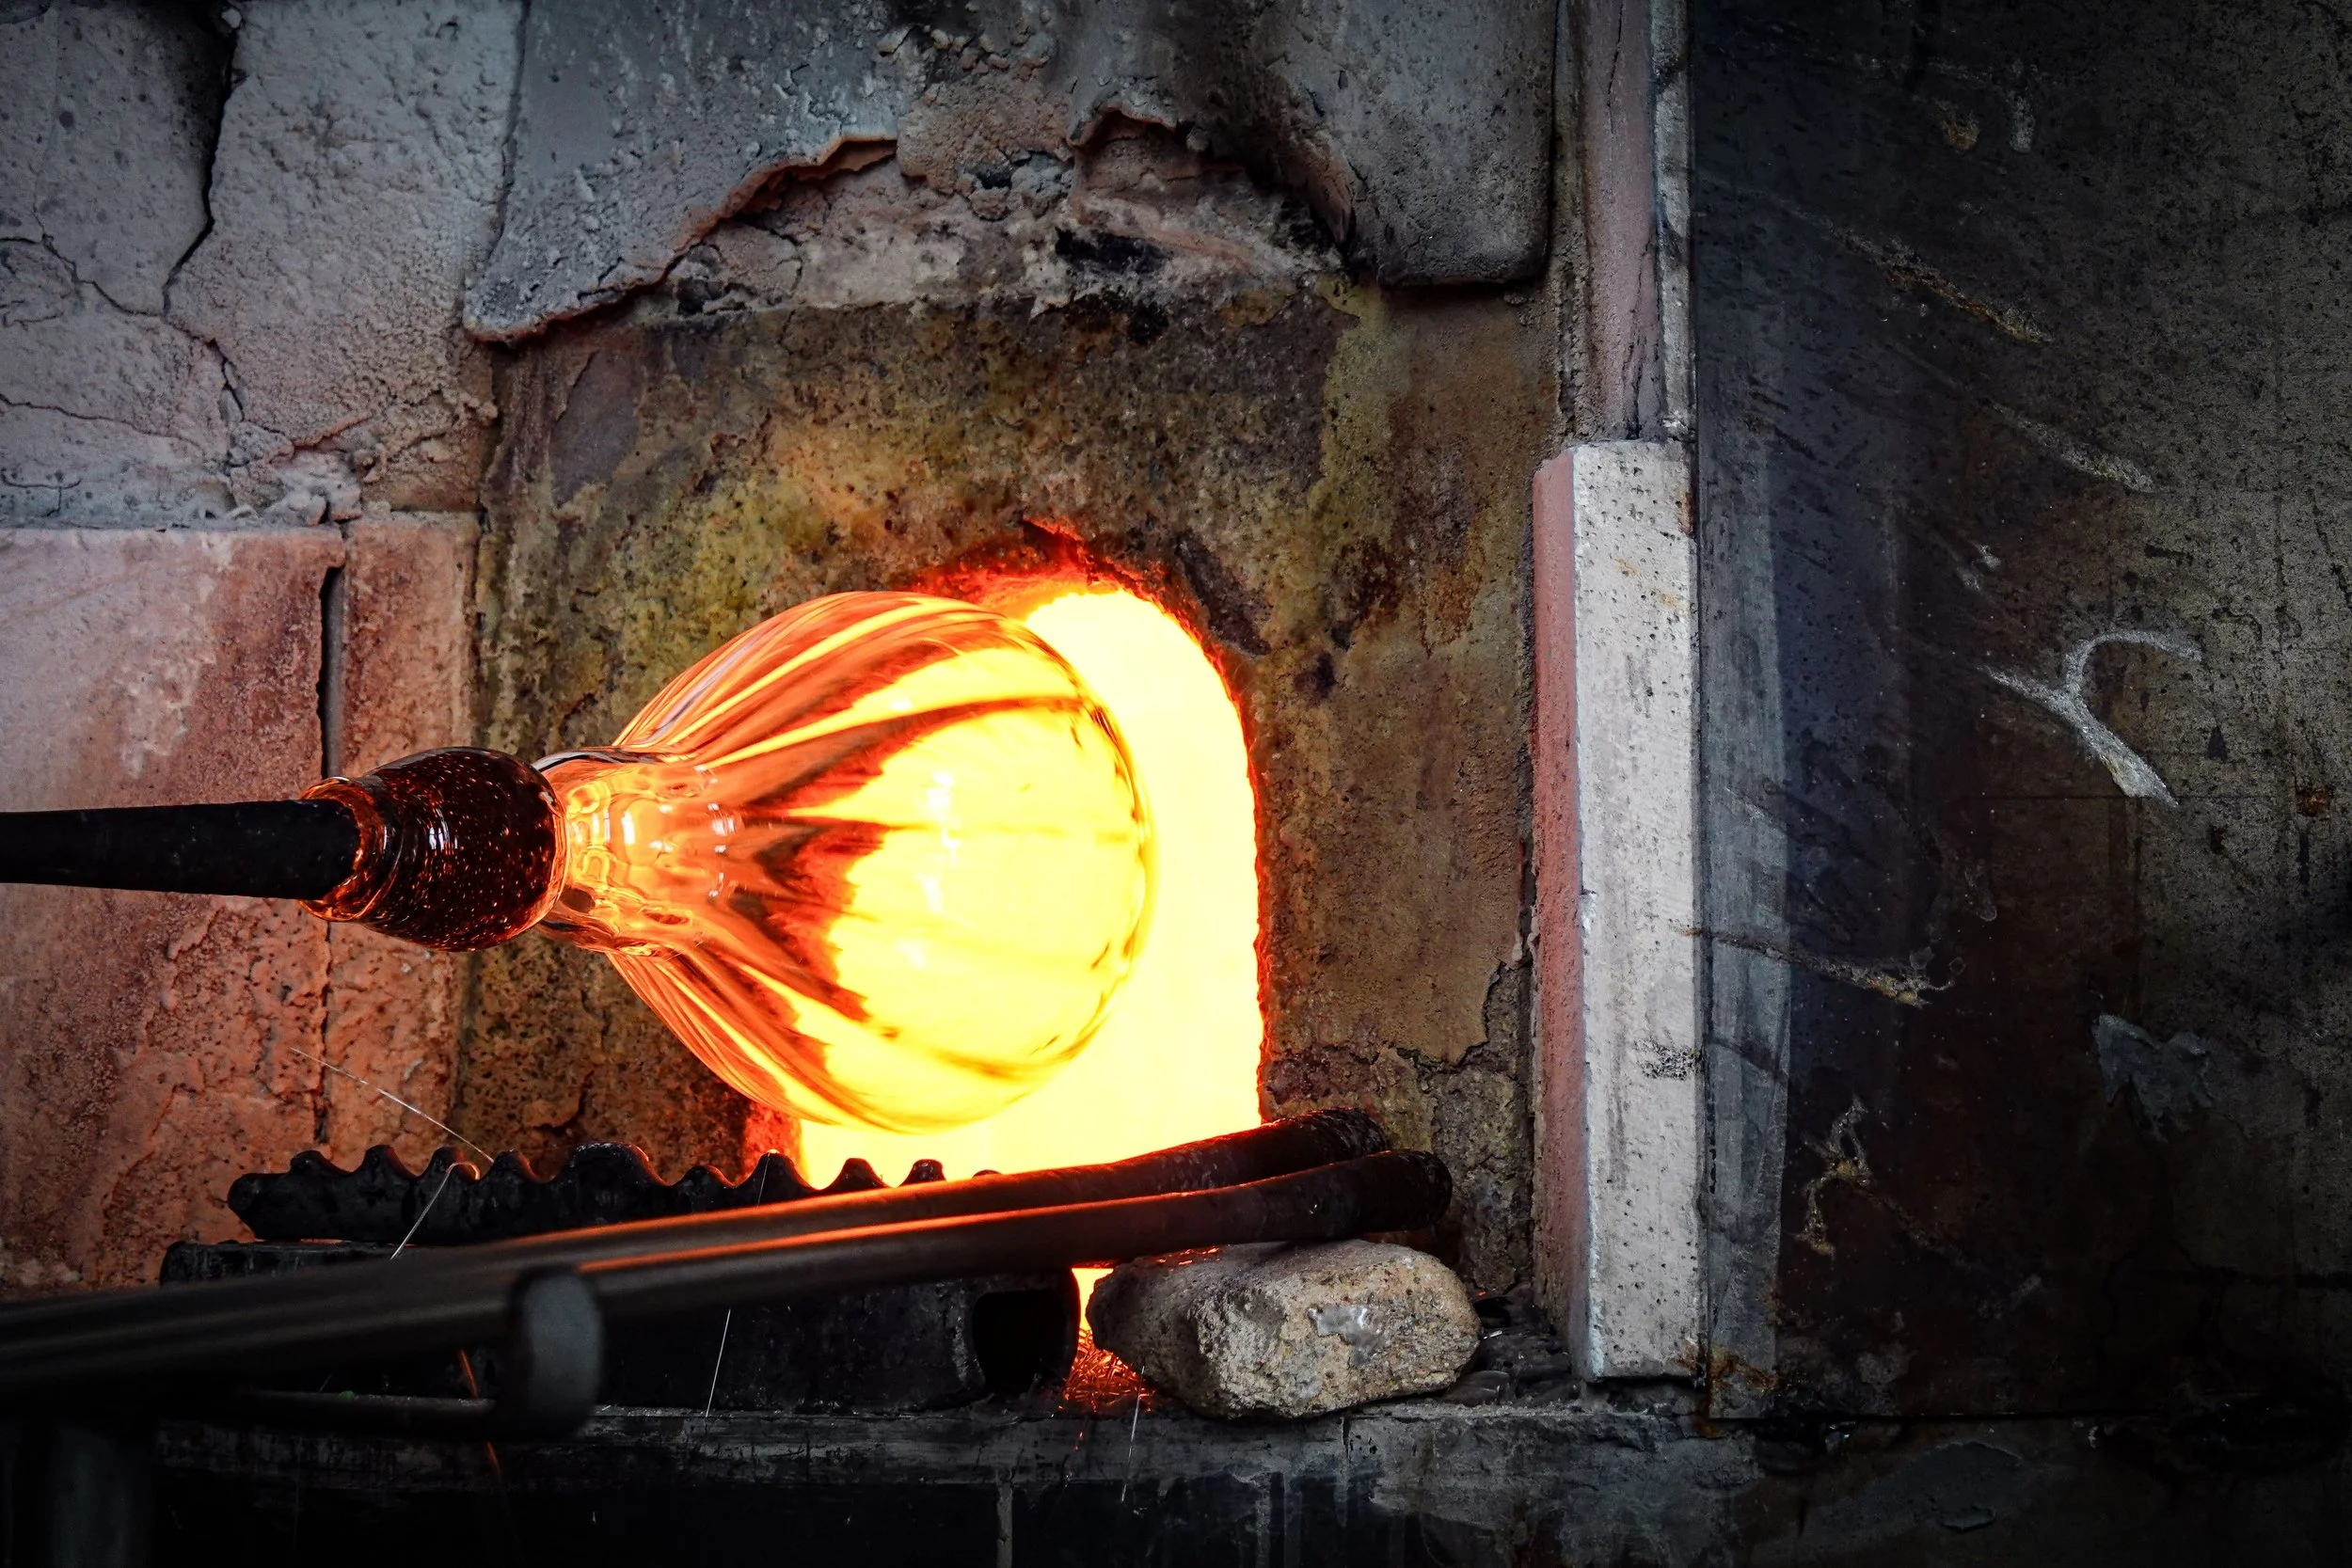
A sculptural hand blown glass fixture starts one of three ways, and the spec sheet rarely tells you which. Free blown glass is shaped on the pipe by breath and hand tools, with nothing around it but air. Mold blown glass is blown by mouth into a mold. Pressed glass is forced into a mold and never blown at all, which is why one piece looks exactly like the next. "Mouth blown" can honestly describe the first two, and which one you're buying decides how much a set will vary and whether a reorder can ever match it.
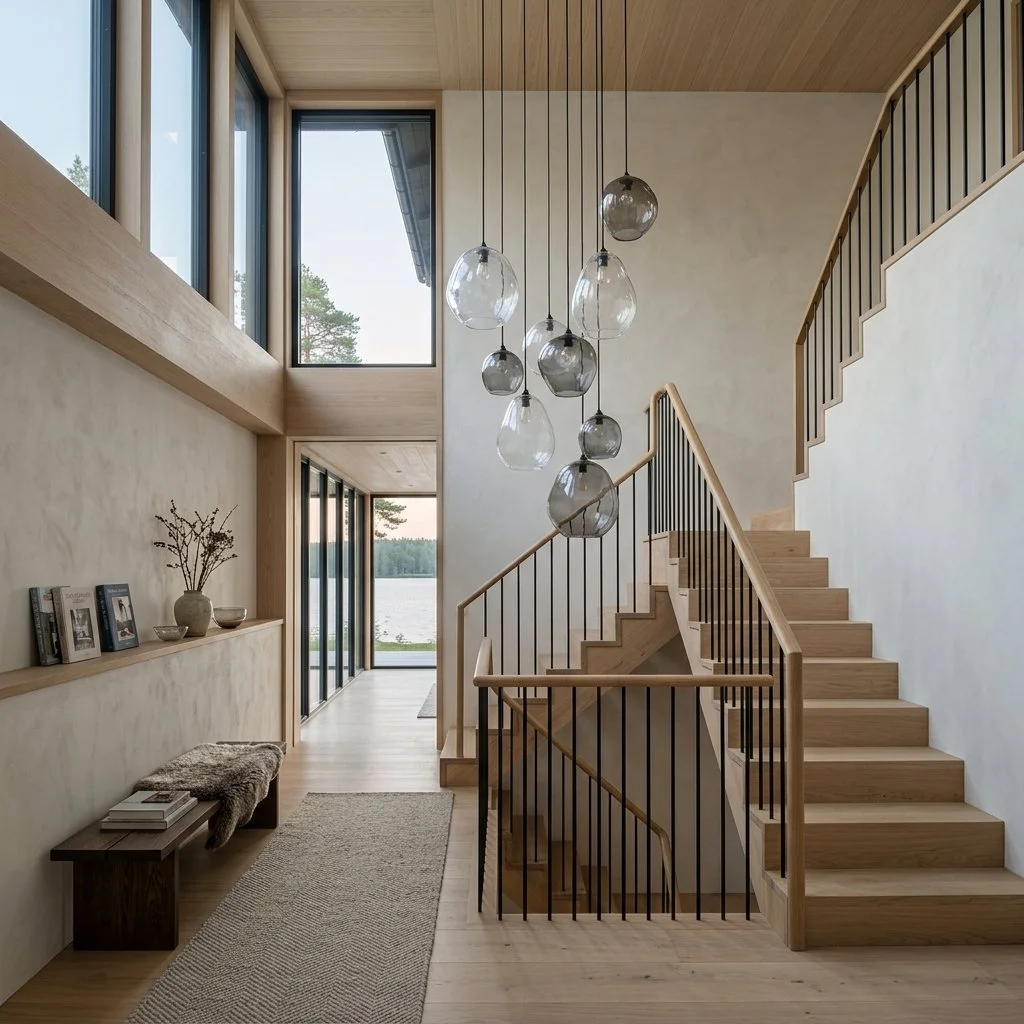
Cluster of free blown clear and smoke glass pendants hung at staggered heights in a double height stair hall.
Mouth Blown Can Still Mean Mold Made
Samuel Wilkinson's Blown pendant for &Tradition is mold blown. Its quilted texture was modeled in CAD, and each shade is blown into a mold by hand. One retailer describes that mold as 3D printed metal. A person still inflates every piece. The mold fixes the outline, so a row of them reads much closer to a matched set than free blown shades can.
How Much Should a Set of Blown Pendants Vary?
Free blown shades vary in size and wall thickness, and a good maker will tell you that's the point. Variation reads as intent in a cluster hung at staggered drops. In a straight row it reads as a mistake, because the eye compares each shade to the one beside it. Decide which the room needs before choosing the process. For a row, ask the maker for the real size range across the whole run, not one nominal dimension on a drawing, and lay out the hang so the two most different pieces never sit side by side.
A Wooden Mold Burns a Little Every Time
Czech glassworks such as Moser and Harrachov carve many of their molds from wood, most often beech. Moser's mold maker says pear gives the better surface but is scarce, so beech does most of the work. A tree takes up to thirty years to grow big enough. The wood is kept wet, and when hot glass meets it, a film of steam forms between them that mostly keeps the glass off the wood. Mostly. Each piece chars the inside a little more, so a wooden mold has a working life. Blenko in West Virginia carves its molds from cherry and gets up to about 1,000 pieces from one before it has to be replaced.
Metal lasts longer, but with no steam cushion the glass touches the mold directly. Blenko credits the thick steel of one mold with the orange peel texture on its most popular water bottle. It also notes that a mold where the glass isn't turned while it's blown loses fine detail and tight curves faster than one where it spins.
A crisp pattern cut into a wooden mold can soften over a long run. A reorder depends on the mold surviving. Moser describes soaking an old mold in hot water overnight when an order comes back years later, and it's usable the next day "if all goes well." So ask whether the mold is wood or metal, and whether the studio keeps it once your order ships.
How to Tell Real Murano Glass Lighting
Murano glass has a legal mark of origin. Vetro Artistico Murano was set up under Veneto Regional Law 70 of 1994 and is managed by Promovetro, the consortium of the island's glassmakers. Only licensed producers can apply it. It goes on as an adhesive label that carries the producer's number code, with the name printed in gold leaf. A label can come off, so ask for the producer number on the paperwork too. A listing that says "Murano style" is telling you where the glass wasn't made.
Glassblowing studio.
What the Ceiling Has to Hold
Blown glass is heavy, and sculptural pieces are heavier. One Lasvit pendant of Czech glass blown into a beech mold is listed at 6 kilograms, about 13 pounds, and a cluster multiplies that on a single canopy. A ceiling box carries only so much weight, and a box built for more is marked inside with its limit. Anything beyond that has to hang from its own support tied into the framing. Free blown walls vary in thickness, so the weights vary too. Get the weight of the heaviest piece from the maker and hand the cluster's total to whoever frames the ceiling while blocking can still go in.
The Mold Is Part of the Order
In a free blown set no two pieces match, so a broken shade comes back as a sibling, never a twin. A mold blown set can be extended for exactly as long as its mold survives. I'd want to know where the mold is before I fell for the glass. If you're looking past Venice, look outside Guadalajara. Archaeologist Karime Castillo names Tonalá and Tlaquepaque as the main centers of traditional glassblowing in Mexico, a trade that took root there in the early nineteenth century. The glass is what the client sees. The mold decides whether anyone can make one more.
Commissioning a Custom Light Fixture
A custom fixture rarely goes wrong in the making. It goes wrong in two questions designers forget to ask: is it listed, and who owns the shape?
Commissioning a custom light fixture means taking it through a maker from sketch to installation. The steps are a brief, shop drawings, a prototype when the design calls for one, fabrication, and delivery. The making usually goes well. What catches designers out is the label an inspector looks for and the contract clause about who owns the shape. A fixture made for one room is the part of this trade I most want to show, so the process is worth knowing well.
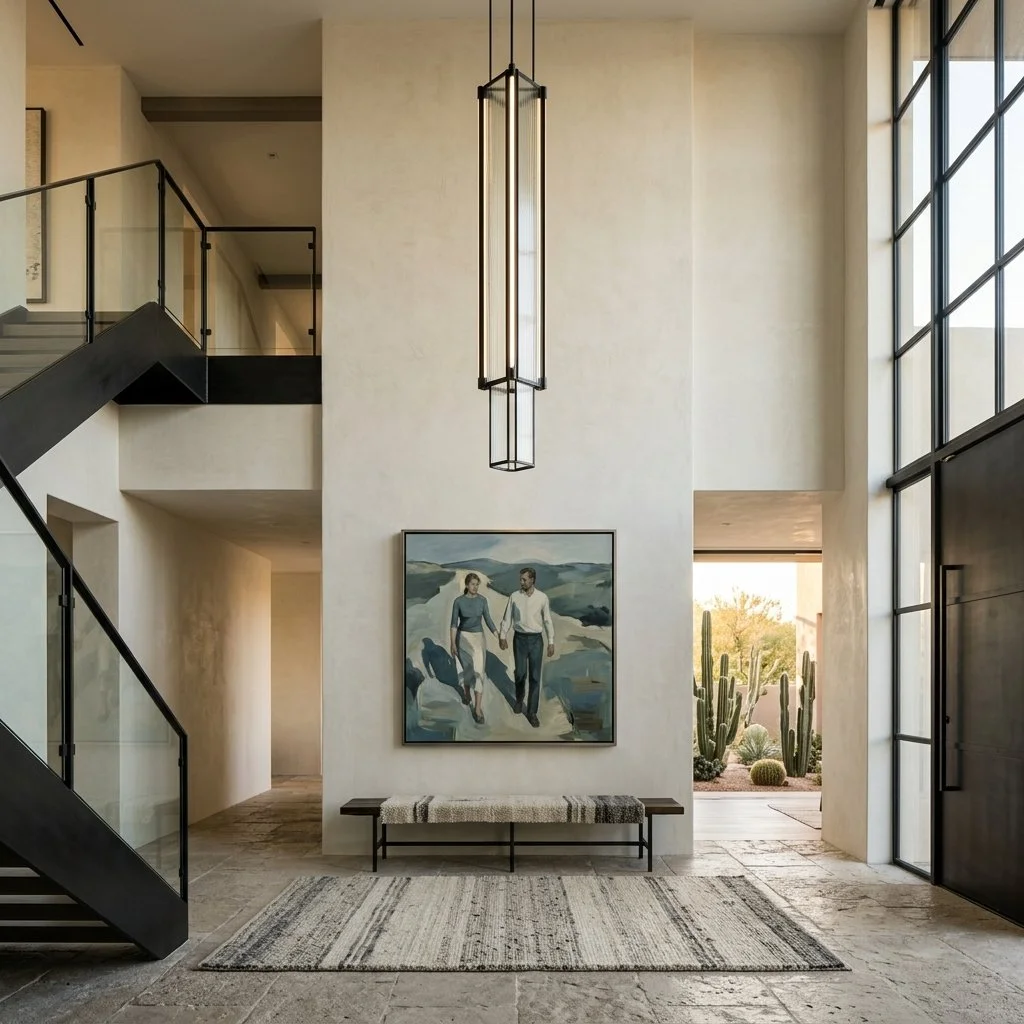
A long blackened metal and glass pendant hangs through a double height entry in a desert modern home with plaster walls and a stone floor.
What the Maker Needs Before Drawing
A maker can start from a napkin sketch or a finished CAD file. One American custom shop told a trade magazine that both are routine. What a maker can't start without is the room, the ceiling height, what the fixture hangs from, the light output the space needs, and how it will be dimmed. If a lighting designer is on the project, the fixture already has a line on the luminaire schedule, and that sheet is the one to hand over. I'd settle the driver with the maker at this stage too, before the electrician has to match one later.
Makers handle the drawings differently. Sattler, a German manufacturer, doesn't produce detailed CAD until the order is placed, to avoid unnecessary work early in a project. Hammerton supplies full scale drawings set into the architectural plans, so the fixture can be judged in place. Either way, the shop drawing is the document that counts. Once it's signed, it is the fixture.
Where the Prototype Fits
Dernier & Hamlyn, a British bespoke lighting manufacturer, prints prototypes in 3D in its own studio, so a client can see the form of a shade or a canopy before it's fabricated. Some of those printed parts end up in the finished fixture. Sattler says a prototype is sometimes needed to check that a design can be made in practice. For a pendant scaled to one particular stair void, I would ask for one even when it isn't offered.
When the Clock Actually Starts
Lead time runs from written approval of the final drawings and the deposit. The first meeting doesn't count. Hammerton releases a design to production only once both are in hand, and only after materials and finish samples have been signed off. Sattler's production time depends on how new the design is, so a change to an existing fixture moves faster than one developed from nothing. Ask the maker for the lead time in writing, counted from the approval date. Put that date on the project schedule and work backward from the day the ceiling closes. Every week spent revising the drawing comes off the end.
Does a Custom Light Fixture Need to Be UL Listed?
The National Electrical Code requires luminaires to be listed, and a one of a kind fixture usually isn't. Randy Hunter, a master electrician and electrical code instructor, wrote in IAEI Magazine that custom units are typically not listed by a nationally recognized testing laboratory and usually need a field evaluation. He called out fixtures from foreign makers unfamiliar with American certification as the common case. He also advised inspectors to tell contractors at the start of a job, before the products arrive, that they will be checking.
A field evaluation inspects that one fixture for the place it will hang. UL Solutions does them, and anyone involved in the project can request one. The result is a UL Evaluated label rather than a UL Listing, and the local inspector still makes the final decision. UL's own literature recommends scheduling the evaluation before an inspector rejects the installation, not after.
The question for the maker, before any deposit, is this fixture listed, and if it isn't, who arranges the field evaluation and who pays for it?
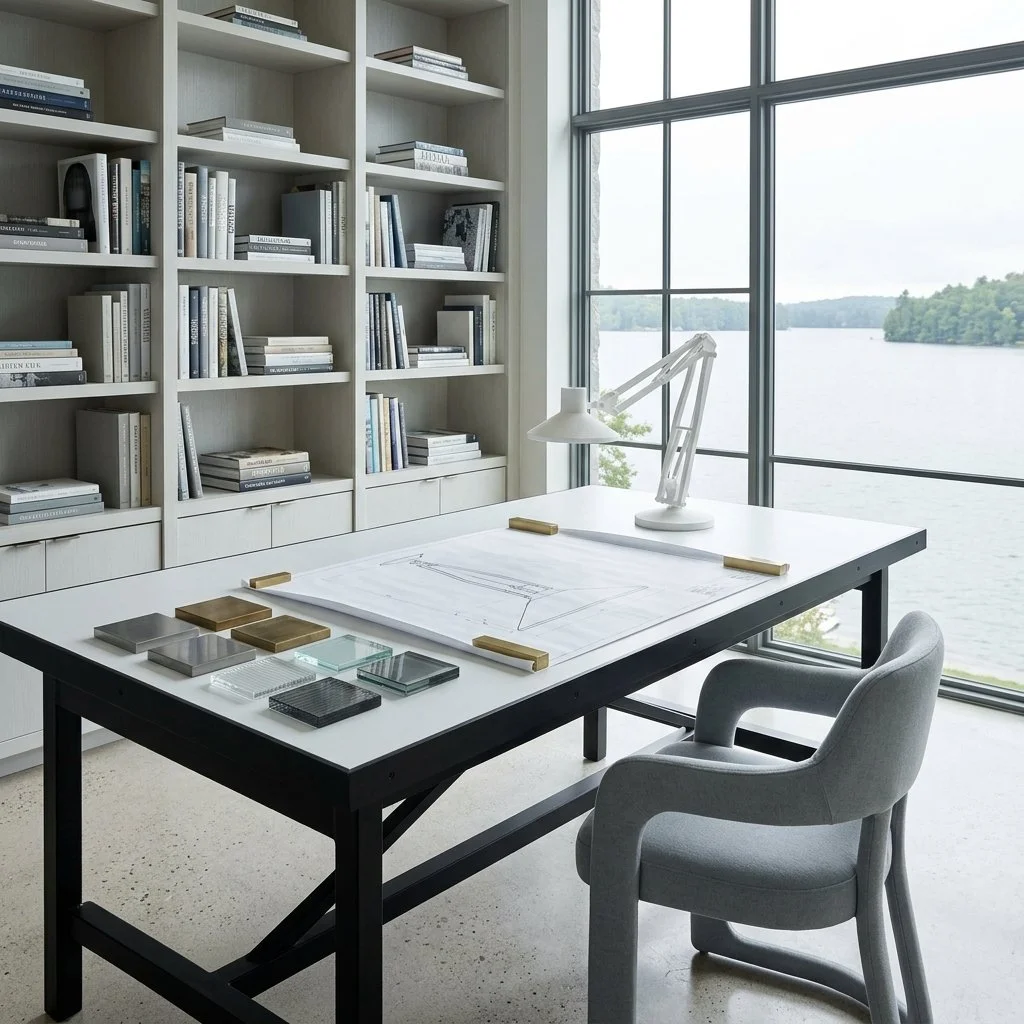
A scale drawing of a pendant light, metal and glass finish samples, laid out on a work table in a study.
Who Owns a Custom Fixture's Design
An Architect magazine article on design ownership pointed out that clients often assume they own what they paid for, and that they may not. Without a written agreement, an independent designer generally keeps the copyright on the drawings. That article was about lighting plans. A fixture brings in a second party with a stake. A trade magazine profile of American custom lighting makers noted that custom pieces often end up in a maker's standard collection. Some makers file design patents on a fixture's ornamental shape, and a design patent runs 15 years.
That is how a maker builds a line, and there's nothing underhanded about it. But a client who paid for a pendant shaped to their staircase may not expect to find it in a catalog two years later. If exclusivity matters, it has to be written into the contract. A contract like that deserves a read by an attorney who knows intellectual property.
A Good Maker Has the Answers Ready
Serious makers have been asked about the label and the ownership many times. A shop that knows its listing status, and has a clear position on whether a commissioned piece can join its collection, has done this before. Hesitation on either one tells you something.
To the makers reading this, if you have good answers to both, I'd like to hear from you.
Trimless Lighting Starts in the Plaster
A trimless light line shows every flaw in the ceiling around it. What to specify for the finish and the drivers before the plaster goes on.
A trimless light line is a slot of light set into a ceiling or wall with no visible frame, and the hardest part of it is the drywall around it. Whether it still looks clean years later depends on the finish level and on where the drivers end up. Trimless describes the look. Mud in describes the method, the aluminum profile goes up before the finish, and its perforated flanges disappear under joint compound. That makes the plaster finisher the person who actually shapes the edge of the light. When I looked into how these lines fail, most of it traced back to the handoffs between trades that rarely talk to each other.
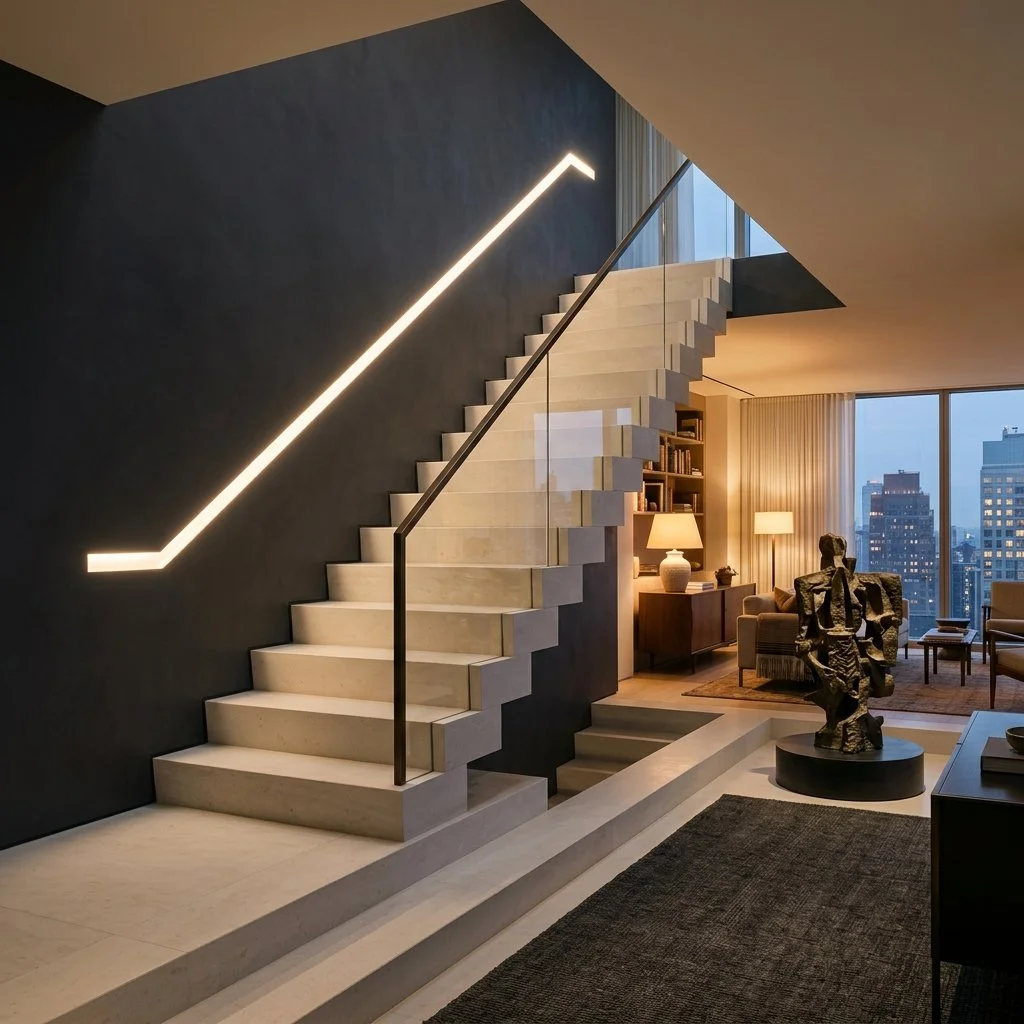
A city penthouse stairwell crafted from pale limestone features a smooth plaster wall with a continuous line of flush warm light.
The Line Exposes the Ceiling Around It
A line set flush in a ceiling throws light across the surface at a very low angle. The drywall trade calls this critical lighting. At that angle the outline of every taped joint shows, and so does any patch where the compound took paint differently than the paper beside it. Dark paint makes it worse, which matters the moment a client wants the ceiling in ink blue.
Under the Gypsum Association's finish levels, Level 4 is the standard for most projects, and National Gypsum notes its imperfections can show under harsh light. Level 5 adds a skim coat of compound over the entire surface. The Drywall Finishing Council goes a step further and says a Level 5 surface should be judged under its final lighting. Put that in the spec, so the walkthrough happens with the line switched on instead of under a work lamp.
Why Trimless Profiles Crack
When a crack opens along the line, the profile usually gets blamed. One installation guide for plasterboard profiles traces cracks to the work around the profile, or to the house moving. Dust left in the groove after cutting keeps the compound from bonding. A profile fastened more loosely than the board beside it gives when the structure shifts. The guide calls for fastening the profile as firmly as the gypsum board, with a screw every 20 to 30 centimeters on each side, and covering the opening before plastering starts.
Some systems ship with a sacrificial diffuser, a throwaway lens that protects the LEDs during the finishing work and gets swapped for the permanent one at the end. Others rely on contractor's tape over the channel, and one maker's own instructions warn against leaving it on more than a week. Ask which kind you are specifying.
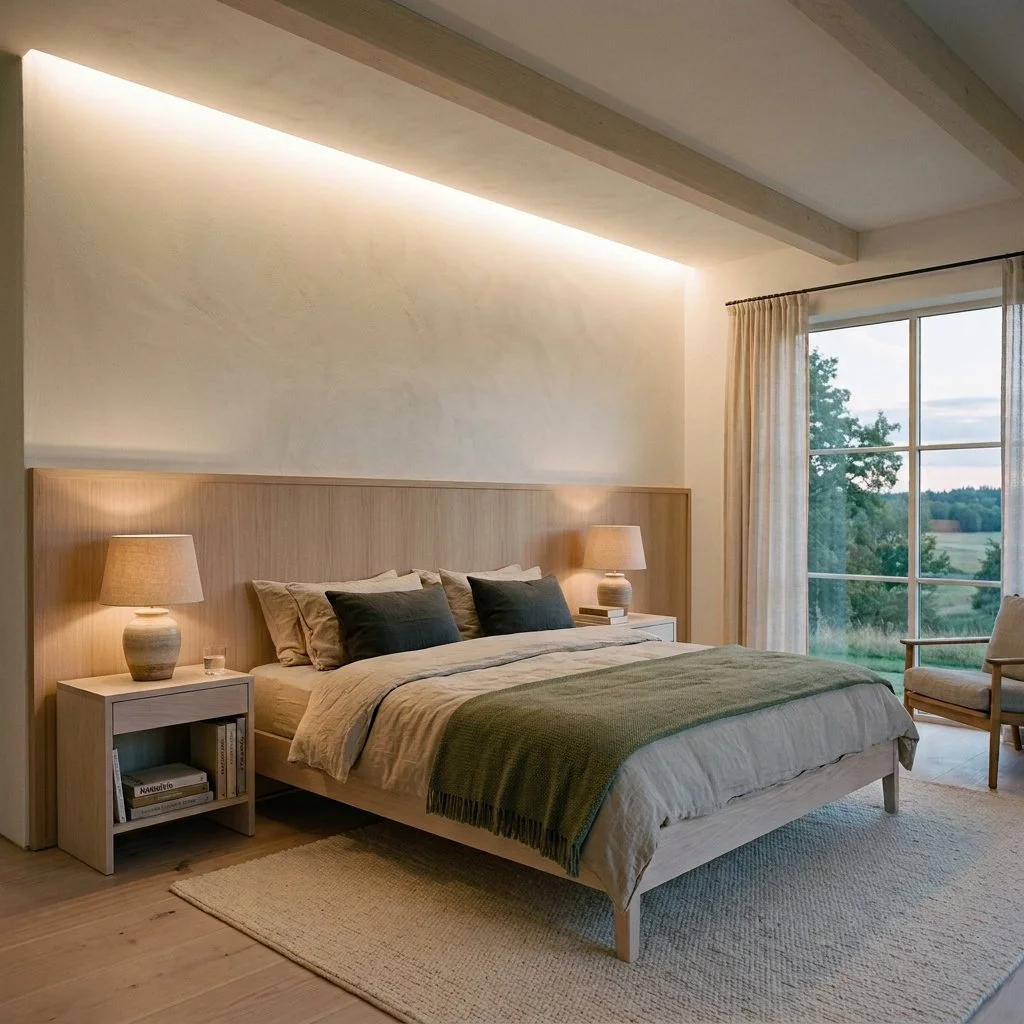
Swedish country bedroom, a mid height pale wood panel headboard, flush ceiling lighting, and a large window.
Plan for the Day Something Fails
The LEDs are only half the system. A driver steps line voltage down to the low voltage the line runs on, and each driver feeds a limited length. One manufacturer's layout shows a 96 watt supply covering about 12 feet of its brighter line. A long ceiling run means several drivers, and each one needs a home.
If that home is sealed above a finished ceiling, replacing a driver means cutting into plaster that just got a skim coat. One integrator's installation standard requires every driver to sit behind a removable panel that opens without damaging the finish, with slack cable left at each location.
The light source deserves the same question. Some systems built to be plastered in list field replaceable LED boards. Others have tape adhered inside the channel once the plaster is done. An industry standard for swappable linear LED modules does exist, but the first products certified to it are commercial fixtures, and I found nothing applying it to a line set into a residential ceiling.
Someone Has to Own the Line
The electrician wires what the drawings show, and the finisher works to whatever level the spec names, but neither one controls the angle the light hits the ceiling.
The fix fits on one page, issued before the drywall goes up. Give the finisher the profile's installation sheet. Specify Level 5 on every surface the line touches, and schedule its inspection for after the line is live. Mark each driver and its access panel on the drawings, and choose a profile that protects the LEDs during finishing and lets the boards be replaced later. Then put one name beside the line itself. On a project with a lighting designer, that is usually the designer. On a project without one, it is whoever wrote the spec, which is often you.
What a Lighting Designer Draws
An electrician wires the house safely and to code. A lighting designer decides where the light lands and puts every decision on paper, down to what each keypad button does.
An electrician's plan shows where the power goes. A lighting designer's plan shows where the light lands and exactly what puts it there. Both are drawn over the same floor plan, and on a custom house the designer often sees the first one and has to decide whether the second is worth paying for. I wanted to know what actually changes on paper. So I went looking for the documents themselves instead of the usual line about one trade being creative and the other technical.
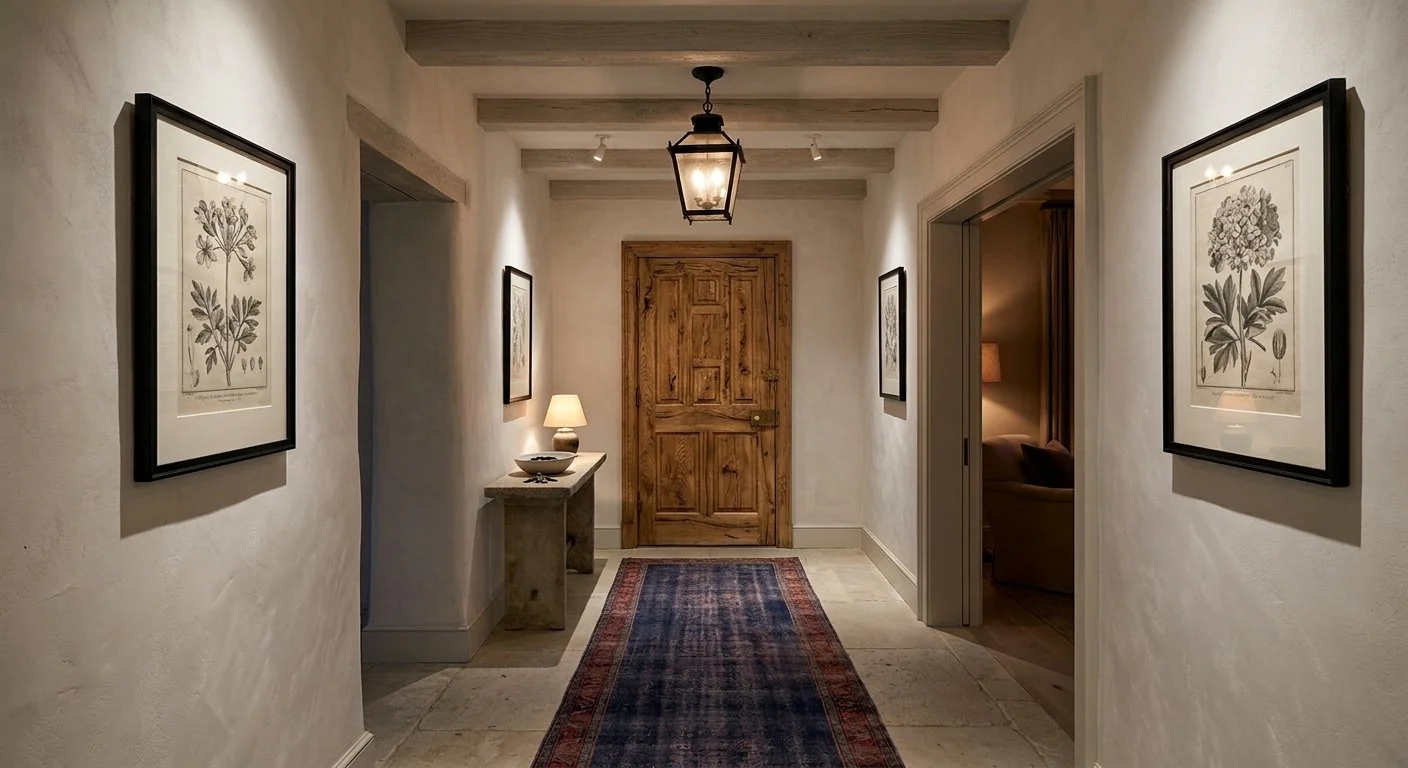
A hallway in a restored heritage home with limewashed plaster walls, exposed ceiling beams, a vintage runner rug, and a rustic wooden front door centered at the far end.
What Does an Electrician's Lighting Plan Show?
An electrician's plan marks the outlets and switches on the floor plan, all wired to code. The National Electrical Code asks for surprisingly little: one lighting outlet with a wall control in every habitable room, and outside the kitchen and bath, a switched receptacle can stand in for it. A living room can meet code with a lamp plugged into the wall. The electrician owns the wiring and the electrical loads, which is real work, and nothing in the code asks for more.
The Documents a Lighting Designer Delivers
The core drawing is a lighting plan laid over the architectural blueprints. It marks the exact location and mounting of every fixture, along with its circuit. That plan has to agree with the reflected ceiling plan, which carries everything else on the ceiling, the air diffusers and smoke detectors included. Coordination is how a row of downlights ends up centered on a beam line instead of pushed off it to clear a vent nobody planned around.
Every distinct fixture gets a type label, and those labels lead to the luminaire schedule, the full list written for the electrician and contractor. The schedule is also where color temperature gets held at one number across every fixture type, so the downlights and the picture light read as the same warm white.
Then come the calculations. The IES residential recommendations put general kitchen lighting at 20 to 50 footcandles and the surfaces where food gets prepared at 50 to 100. A lighting designer checks the plan against targets like these before anything is ordered. Newer AI tools can render a convincing picture of a lighting effect with no photometric file or CAD drawing behind it, which is fine for showing a client a mood and no substitute for the math.
One piece of advice from veteran lighting designer Peter Romaniello stuck with me. If an architect hands over only a reflected ceiling plan, he says to ask right away for elevations, sections, and the floor plan, and possibly the furniture plan too. Light gets aimed at walls and tables, and neither appears on a ceiling drawing.
Where the Scenes Get Written Down
The electrician's plan shows a keypad as a symbol on a wall. The lighting designer writes down what each button does. That document is the control narrative, and it tells the rest of the team how the system should behave and which presets the house expects. The IES keeps it firmly separate from the sequence of operations, the detailed account of how each control responds.
In a house with a Dinner button in the dining room and a Night button by the bed, the narrative is where someone decides what those words mean. Dinner might mean the table at full brightness with the kitchen behind it dimmed low. Night might mean the hallway glowing just enough to reach the bath. The warmer evening scenes that support sleep get set here too.
Where Substitutions Happen
A symbol labeled pendant can be filled by any pendant. A schedule line naming the studio and the exact model is much harder to swap. In one trade discussion of independent practice, a lighting designer described the projects that go wrong. The contractor swapped in inferior products, or installers who didn't know the products put them in incorrectly. That designer's answer was to supply and install the fixtures personally, which is its own argument and leads straight to how a lighting designer gets paid. This is the part I care about most, because it decides whether a maker's work survives the job. For a pendant blown by hand in a small studio, that schedule line is what protects it from a lookalike.
Ask How the Lighting Designer Is Paid
When the International Association of Lighting Designers formed in 1969, its founders barred members from selling lighting products, so a fixture choice couldn't be bent by a markup. In 2024 the association changed its bylaws. Member firms can now earn royalties on product design and profit on procurement. Critics worry that even a disclosed royalty arrangement could tilt a design decision away from the client's interest. Neither business model is wrong. A designer bringing one onto a project should still ask plainly whether the fee comes from the client alone or partly from the fixtures being specified.
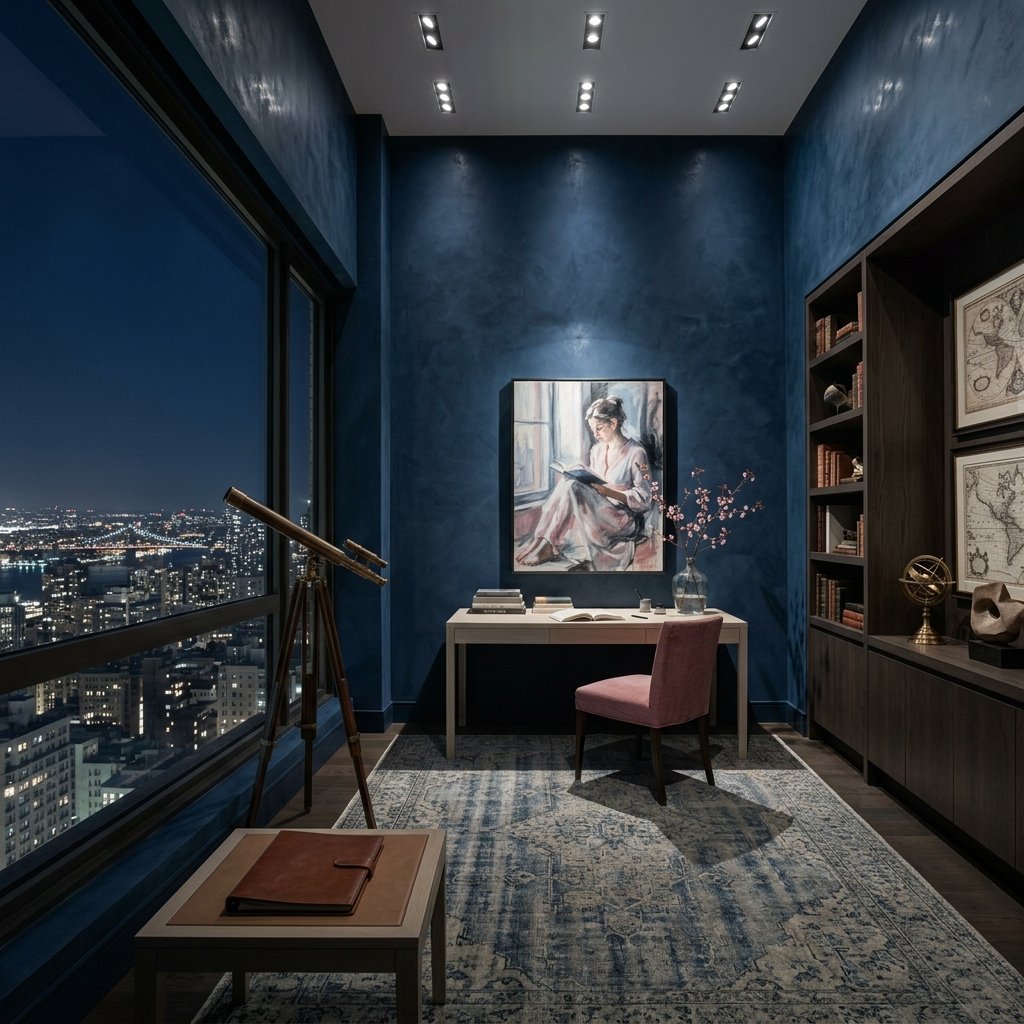
Study featuring ink blue limewash walls, a pale oak desk lit by a spotlight beneath a painting, and a faded rose linen desk chair.
The Visit After Dark
Adjustable downlights are built to be aimed precisely, even after installation. Lighting meant to be seen at night is easiest to judge at night, once daylight stops competing with it. An electrician's work is finished when every fixture turns on. Aiming each one at the painting or the stone wall it was drawn for is a design decision. It's worth writing an aiming visit into the lighting designer's contract before the job starts instead of hoping for one at the end.
The Electrician Builds What Gets Drawn
An electrician will build what's on the page, and build it safely. The real difference between the two plans is how much is on that page. A plan with switch symbols and a code minimum gives every room light. A plan with a luminaire schedule and a control narrative behind it gives a house where the light was decided room by room before the first fixture went up. Most of what a client ends up loving about a house at night was settled on paper months earlier.
Good LEDs Dim All the Way Down
Fixing the buzz gets an LED working. Holding steady near dark is the real test, and that comes down to the driver and the dimmer working as a pair.
Dimming an LED is an electronics problem. An incandescent filament simply glowed less as the power dropped, all the way down to almost nothing. An LED depends on a driver, the small electronic part inside the fixture that controls its power. Whether that driver and the dimmer on the wall are matched decides if the light holds steady near dark or starts to buzz and flicker.
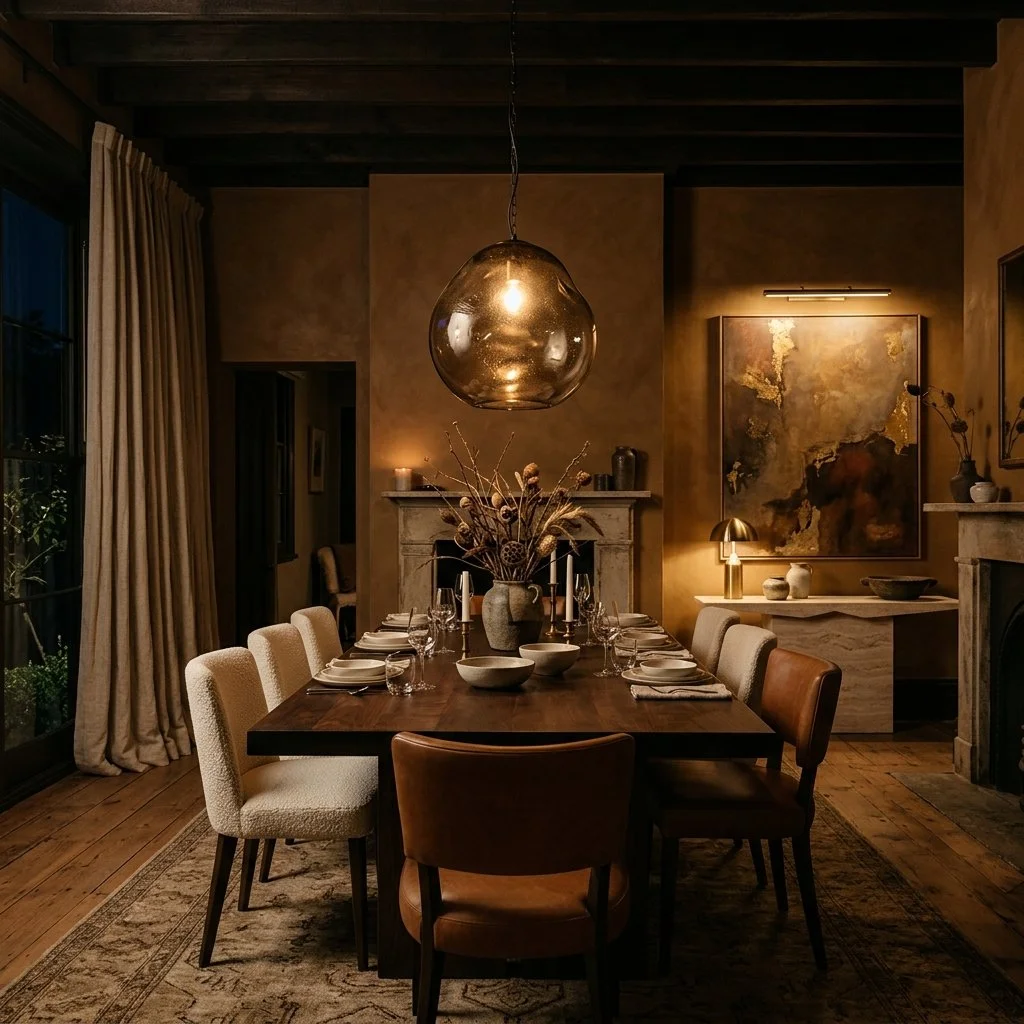
Dimly lit dining room in a restored heritage house, illuminated by a hand blown smoked amber glass pendant light.
The Dimmer on the Wall Was Built for a Filament
Most wall dimmers work by chopping up each cycle of household alternating current. A leading edge dimmer, the older TRIAC design, cuts off the front of every half cycle. A trailing edge dimmer, built around a MOSFET and sometimes sold as ELV, cuts off the back instead. Which end gets cut matters because the driver has to rebuild whatever is left into steady low voltage DC.
Leading edge switching is abrupt. The sharp jolt makes magnetic parts inside the driver vibrate at a frequency you can hear, and that's the buzz. Flicker usually has a different cause. A typical leading edge dimmer needs 40 to 60 watts of load to fire reliably, and an LED sold as a 40 watt equivalent might draw only 5 to 8. Put two or three of those on a circuit and the dimmer can't hold its switching point. The thing I kept running into while reading about this was how often the dimmer is older than every bulb it controls. The bulbs got swapped for LED, and the wall control installed for halogen stayed put.
One Percent Is Brighter Than It Sounds
Fixing the buzz gets a light working. It doesn't get it low. The eye reads dim light on a curve, not a straight line, so the bottom of the range looks far brighter than the number on the spec sheet. A driver rated to dim to 1% has a lowest setting the eye reads as roughly 10% of full brightness. I had assumed 1% meant nearly off. It means a room that still looks lit. Drivers built for deep dimming go down to 0.1%, and one lighting manufacturer's guidance puts museums and luxury interiors at 1% or lower.
Ordinary retrofit lamps, the kind that screw into a standard socket, sit at the other end of the scale. Many bottom out around 5 to 15%, and near that floor they misbehave in ways the trade has names for. Dropout is a light that cuts off before the slider reaches the bottom. Pop on is the reverse, a light that stays dark until you push the slider well up and then jumps to life.
Warm Is a Separate Question
Low and warm are two different specifications. Incandescent always warmed as it dimmed. An LED holds the same color all the way down unless the fixture blends in a second channel of warmer diodes as the level drops. The usual range starts near 2700 to 3000K at full brightness and falls toward 1800K at the bottom. That evening shift toward amber sends the body's clock less of the signal it reads as daytime, which is why warm dimming belongs in the same conversation as circadian lighting. A fixture can dim deep without warming, and a warm dimming fixture can still drop out well before the bottom. Each one has to be asked for on its own.
The Pairing Is What Gets Specified
None of these numbers belong to a single part. The driver and the wall control behave as a pair, and the fixture inherits whatever that pair can do. Testing funded by the Department of Energy at Pacific Northwest National Laboratory found that dimming performance swings widely with the exact pairing, and the worst problems show up near the low end. A "dimmable" label on the box covers none of that.
This matters most for a fixture made by hand. A glass pendant blown in a studio can look splendid at full brightness. At 3% on a weeknight, how it looks depends on a driver the glassblower may never have chosen. The question worth putting to whoever supplies it is which dimmer that driver was actually tested with, and how low the two go together before the light drops out.
The Dimmer Is Moving Into the Fixture
Wall dimmers keep getting better at the matching problem. Phase selectable models let the installer switch between leading and trailing edge on site, and adaptive models adjust to whatever load they find on their own. At the high end, the bigger shift is that the wall dimmer is going away. Some lighting systems put the dimming intelligence inside each fixture and send the control signal wirelessly, so there's no separate dimmer to pair it with, and the best of them dim down to 0.1%. One benefit I hadn't thought of is practical: when a table shifts or the art on a wall changes late in a project, the lights can be regrouped without rewiring.
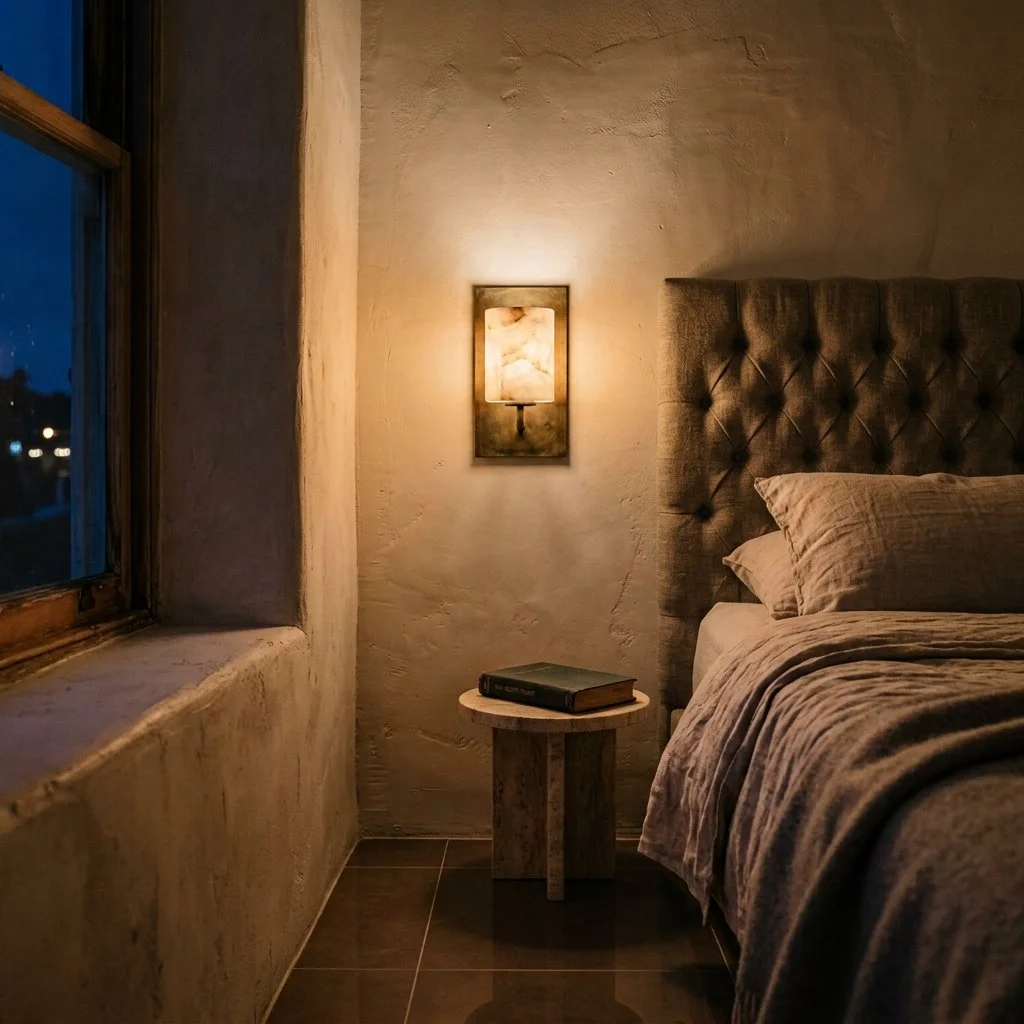
Cozy bedroom corner at dusk, where the textured walls are softly illuminated by a warm glowing alabaster and aged brass wall sconce.
What Replaces the Slider
The control on the wall is changing shape too. A touch bar is the closest replacement for the slider: a smooth, flat strip you run a finger along to set the level, with a line of light showing where it sits. Some smart dimmers pair a lit bar with buttons that treat a tap differently from a long press. In whole house systems the slider often disappears entirely. A wall keypad with a few buttons calls up preset scenes, a dinner setting or a late evening setting, and each button sets every light in the room to a level someone programmed in advance. For the low end, this matters more than it looks. Once a scene is saved at 3%, nobody has to hunt for that level by hand again. The bottom of the range gets chosen once, carefully, and after that it's just a button.
The Level You Never Notice
A dining room at eleven at night is where all of this shows. If the low setting holds steady, with no hum from the wall and no flutter in the glass, the pendant glows the way its maker meant it to and nobody at the table thinks about the dimmer. If it doesn't hold, the dimmer is the only thing anyone notices. Both outcomes trace back to one decision made long before dinner, how the light and whatever controls it were matched
Outdoor Lighting Depends on Direction
Direction determines the effect in outdoor lighting. One fixture aims up from the ground, the other aims down from the canopy or eave, and the housing material matters as much as the beam.
Uplighting and downlighting are the two basic directions in landscape lighting. One fixture sits at ground level and aims up, the other mounts high and aims down, and everything else in the trade is a variation on one of those two.
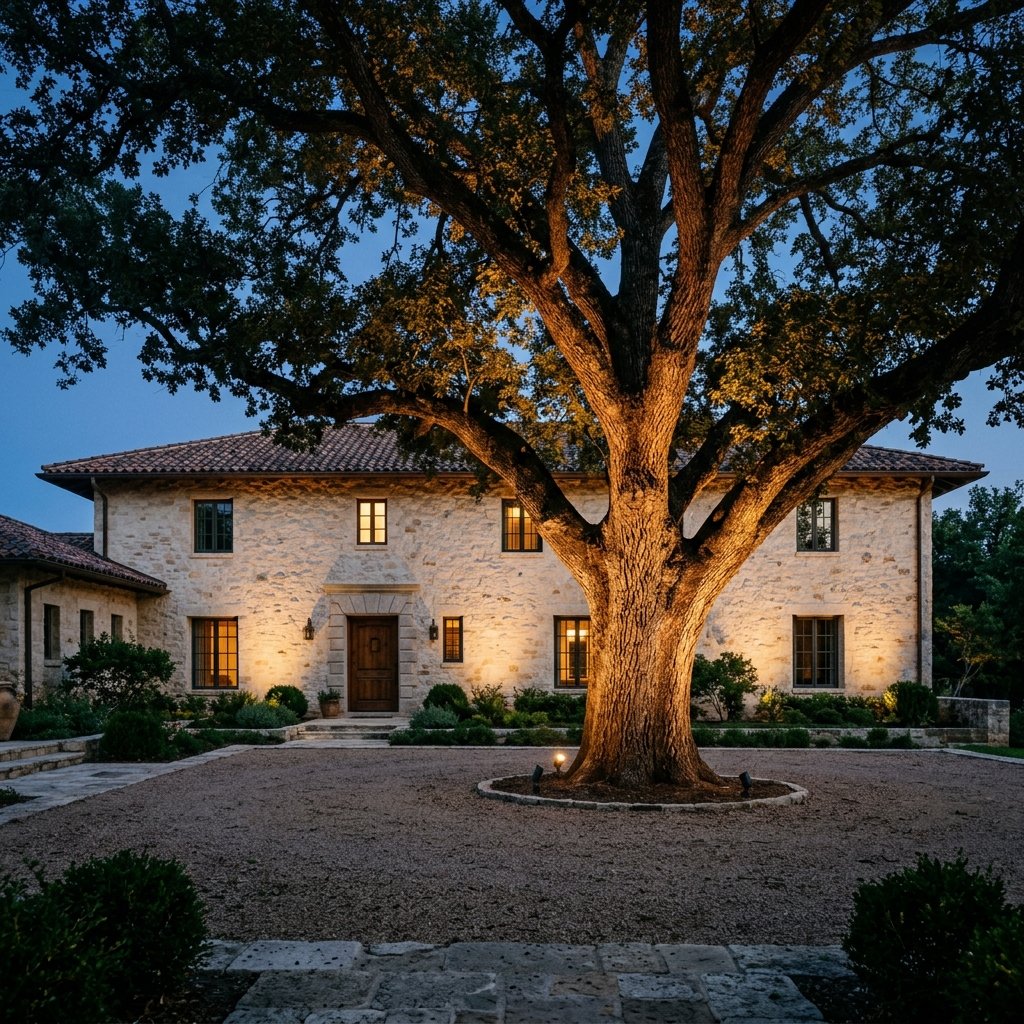
Restored heritage estate at blue hour, featuring a oak tree uplit with warm light before a stone facade.
Uplighting Reveals What's Already There
Uplighting places the fixture at ground level and aims it upward into a tree's trunk and canopy, or across a stretch of facade. The light rakes across bark texture and stone joints and catches the underside of leaves and branches, which is exactly why it works best on anything with real structural form and vertical presence worth revealing.
Downlighting Covers More Than One Effect
Downlighting is the broader category, and where the fixture sits changes the effect completely. Mounted under a porch roof, it works like practical overhead light over a patio or entry, the way a porch light always has. Moved up into a tree's own canopy, that same downward aim becomes moonlighting. I had always filed moonlighting as its own category until I looked into how the trade actually classifies it. Real moonlight never comes from below. It filters down through foliage, so a fixture aimed downward from within the canopy throws a soft, dappled shadow pattern across the ground. The pattern shifts on its own as the leaves move in the wind. It's the harder downlighting job by far, since the fixture has to be mounted and wired twenty feet or more up in the branches rather than staked into the ground, but it's the only downlighting technique that actually mimics how natural light moves overhead.
Wash Light Has a Different Job Entirely
Uplighting and moonlighting both pick out a single feature. Wash lighting does the opposite job on purpose. A wider beam angle, pulled back from the surface, spreads even illumination across something large and flat, a facade or a stretch of garden wall, so the surface becomes ambient background glow rather than a spotlighted focal point.
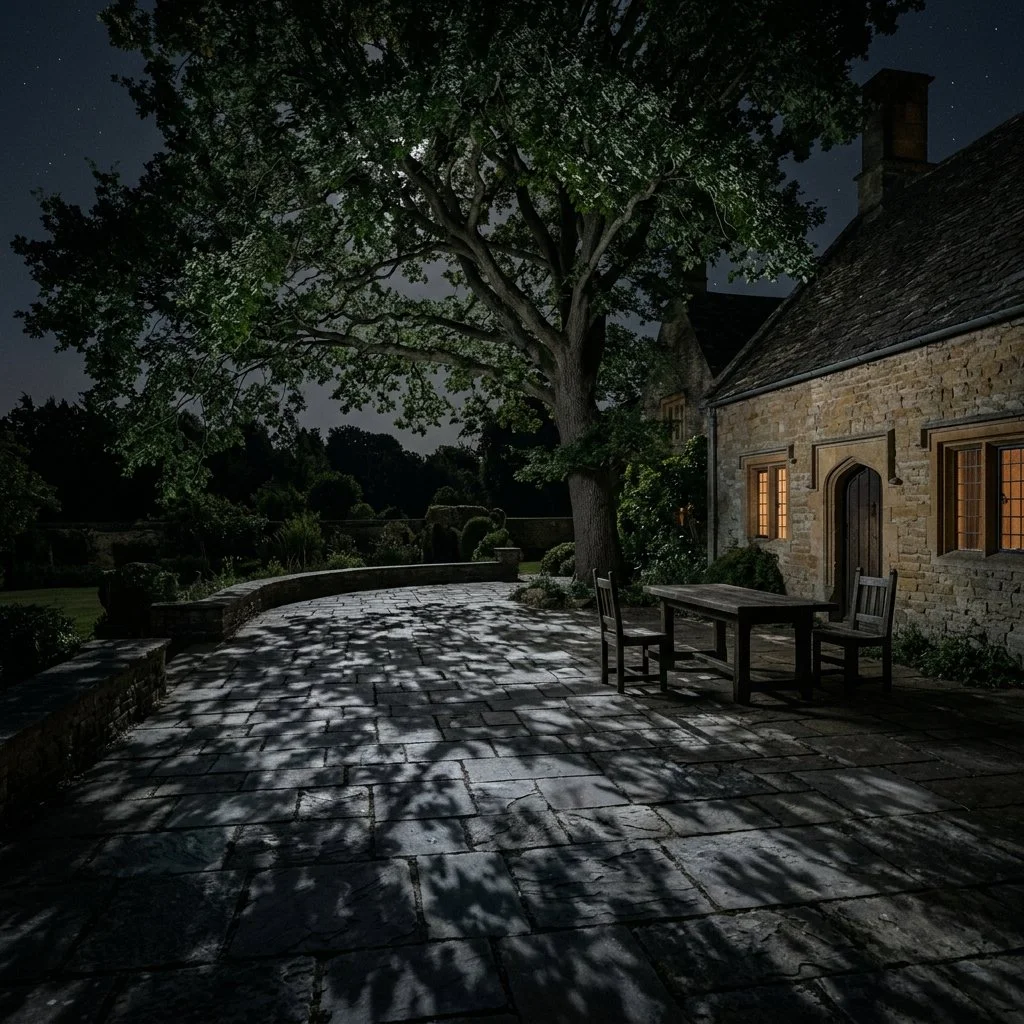
Heritage stone estate, where soft moonlight filters through a mature oak tree to project delicate leaf and branch shadows across worn stone pavers.
The Housing Has to Survive the Weather
A fixture that looks identical to another in a catalog photo can perform completely differently five years into a Pacific Northwest winter or a humid Gulf Coast summer. Most of the difference comes down to whether the metal protects itself or depends on a coating to do it. Solid brass needs no coating at all. Scratch it and there's more brass underneath, and it darkens slowly outdoors instead of failing. Copper behaves the same way. It forms its own oxide layer that shields the metal below it, which is why so many fixtures are brass bodies finished in copper.
Cast aluminum is lighter and cheaper, and a good powder coat can hold for a decade in a mild climate, less near salt air. The weak point is the coating itself. UV fades it and a string trimmer chips it. Once it's breached, the aluminum underneath corrodes into a chalky white residue. What surprised me is that the LED is often built right into the aluminum body, so when the housing goes, the whole fixture goes with it, long before the light source would have worn out. Plastic, the trade mostly doesn't bother defending.
A Garden Lit One Way Looks Flat
A landscape lit with only one of these techniques reads as flat no matter how well that single technique is executed. A real plan layers them the same way an interior lighting plan does. Uplighting picks out the trunks and stonework worth showing while wash light fills the broad surfaces behind them. Moonlighting is the one I'd hold back, because it depends on something no designer can supply. Direction decides the effect, and the metal decides whether it lasts. Neither one can make a young tree tall enough to hold a fixture twenty feet up. The fixture goes in over an afternoon. The canopy took decades.
The Sky Level Window
Direct sunlight is the enemy of organic materials. Discover the 'Sky Gap', the architectural standard for illuminating a room with high level light while protecting your rare wood and leather furniture from the elements.
Architects have been building rooms this way for four thousand years, and preservation had nothing to do with it at first. In the temples of ancient Egypt, builders left narrow gaps in the stone slabs above the roofline of the side aisles so light could reach the hall of columns without cutting into the outer wall's strength. Roman basilicas did the same thing with a raised upper wall pierced by windows. So did the naves of Gothic cathedrals centuries later. I hadn't expected a four thousand year old lighting problem when I started reading about high windows, but it changed how I think about placing them. The device has a name now: a clerestory, from the Old French for "clear story," a run of windows set high on a wall, above eye level. In a house, the appeal isn't cathedral drama. It's the same thing that made a temple builder cut those gaps in the first place. Light, without a direct hit.
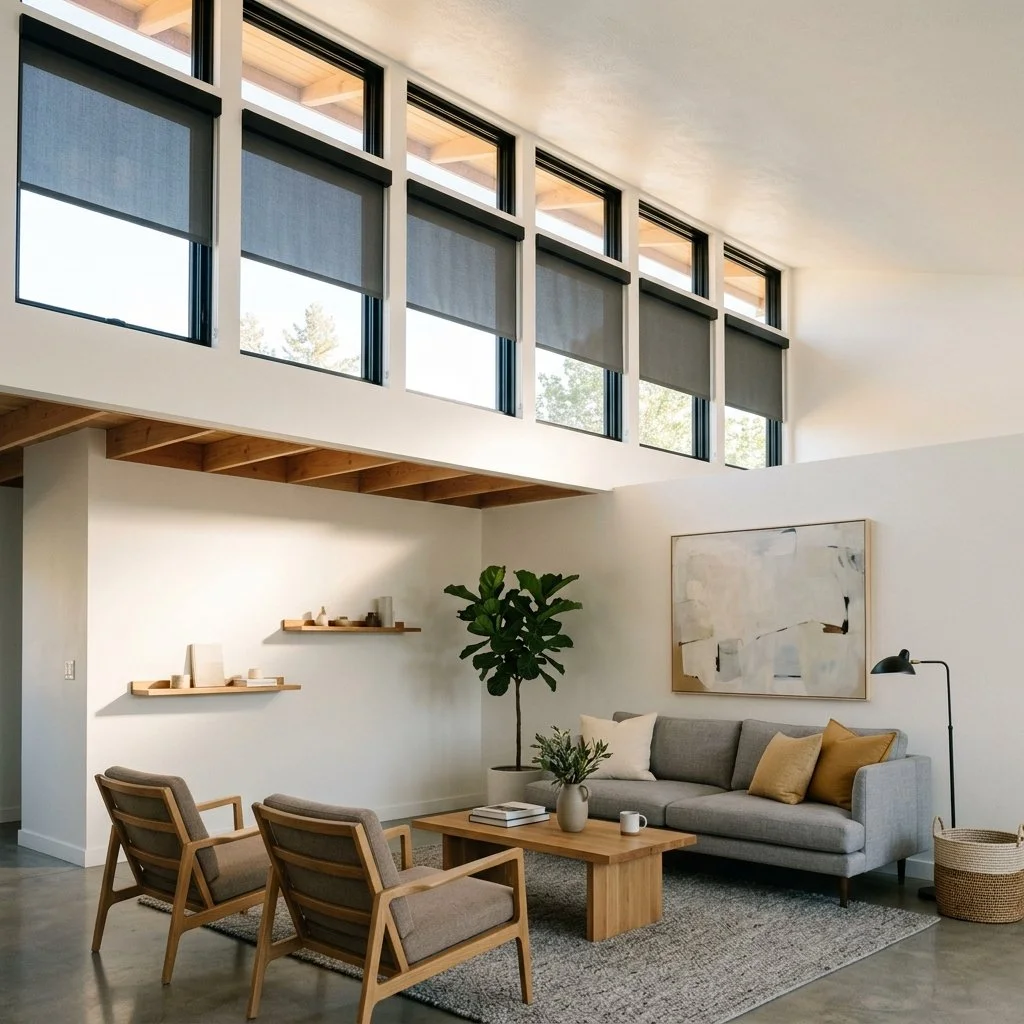
Living room features a row of high clerestory windows with partially lowered dark shades.
The Light Arrives Secondhand
A floor to ceiling window puts the sun's beam directly on whatever sits across from it, at exactly the height where your furniture lives. A clerestory changes the geometry. Light entering high on a wall travels across the ceiling and down the upper walls before it reaches the room. It arrives scattered, not as one hot, direct shaft. The room still reads as bright. It just isn't being hit.
The Air Moves Because the Heat Does
Warm air is lighter than cool air, and it rises looking for somewhere to go. An architect I spoke with put it simply: point where you want the heat to leave, then let the air do the rest of the work. Physicists call the result the stack effect, sometimes the chimney effect. The taller the space and the bigger the temperature difference between inside and out, the stronger the pull. Put an opening at the top of that column of air and warm air escapes through it. Pair that with an operable window down low and cooler air gets drawn in to replace it, no fan required. A clerestory placed correctly does both jobs. It lights the room and gives the heat an exit.
What Fifty Lux Actually Means
I hadn't thought about a fifty lux limit until I asked why museums bother measuring light at all. Conservators don't guess about exposure, they measure it. The standard most museums work from caps illumination on the most vulnerable materials, dyed leather and textiles among them, at 50 lux. Wood and upholstered furniture get more room, generally 150 to 200 lux, before the same clock starts running. Ultraviolet radiation alone accounts for roughly 40 percent of that damage, and it's cumulative. An hour at high intensity does the same harm as several hours at a lower one. The aniline leather I wrote about, the Tzalam heartwood in a piece of case furniture, none of it survives decades in raw, direct sun no matter how well it was made. It survives because someone decided, on paper, before the walls went up, not to let it sit in that light all day.
Glass That Changes Its Mind
A clerestory this high is usually out of reach, which makes it a natural place for glass that manages itself. Electrochromic glass carries a thin coating of metal oxide ions between two conductive layers. Apply a small, low voltage current and the ions migrate between the layers. The glass shifts from clear to tinted and back, with no moving parts at all. Most versions reach full tint in a few minutes and hold that state without drawing further power until the current reverses it. It's a genuinely different animal. That glass is set once, at manufacture. This kind changes its mind by the hour, in response to where the sun actually is.
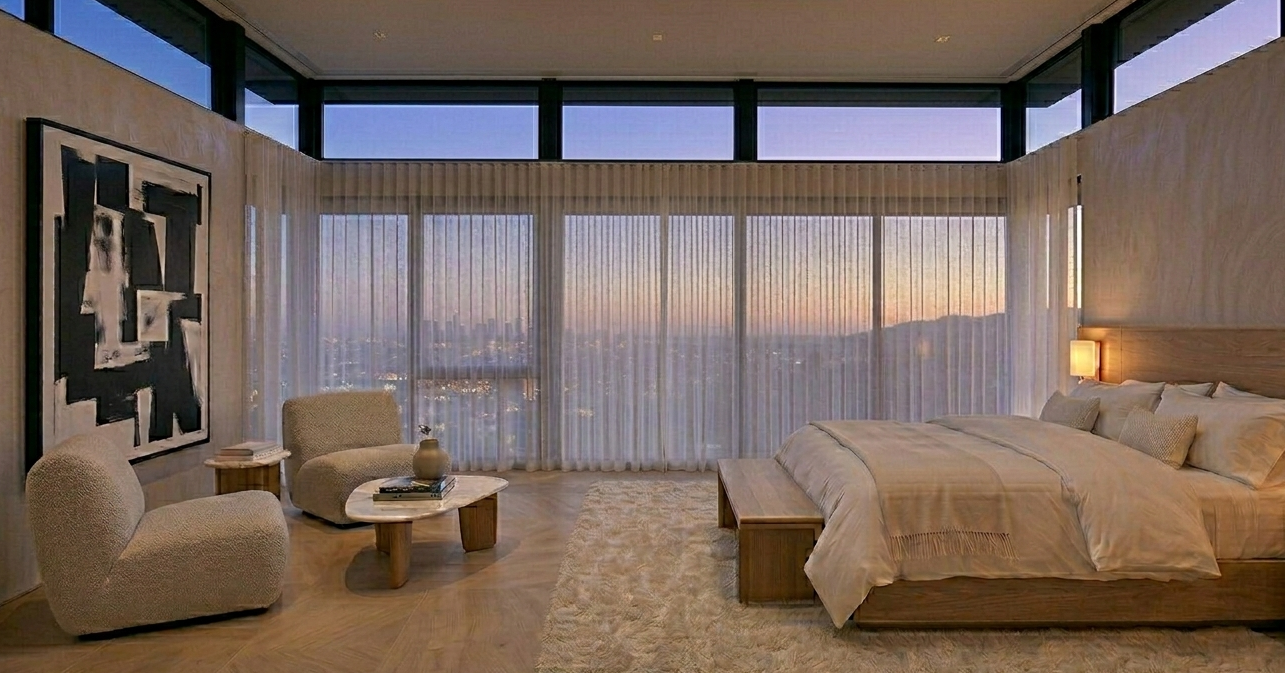
Bedroom at dusk, featuring clerestory windows and shear loomed curtains revealing a soft city skyline view.
When You Can't Move the Wall
Not every house has the ceiling height for a true clerestory, and the same protection can be approximated without touching the architecture. A tight, densely woven linen, hung high above the window frame and wide past its edges, blocks more UV than a loose or sheer weave does. It's the same principle behind sun protective fabric generally: density does the work. It breaks a direct beam into something softer before it reaches the room. The view stays intact.
An Old Idea With New Wiring
None of this is new engineering. It's the same gap a builder cut into a temple wall four thousand years ago, still doing the same two jobs. Bring in light. Keep out what damages what's underneath it. The only thing that's changed is the current wired into it.
The Shape of a Shadow
Light isn't just about visibility, it's about contrast. From ancestral backstrap loomed linens to the sharp geometry of an architectural sun slit, discover how we treat the sun as a raw material to paint a composed, intentional wall.
I've started paying more attention to what the light in a room doesn't reach than what it does. Vision scientists call this shape from shading. Depth and form get read almost entirely from variation in light, not from brightness itself. A room lit evenly in every corner gives your eye nothing to work with. It reads as flat because, to your brain, it actually is.
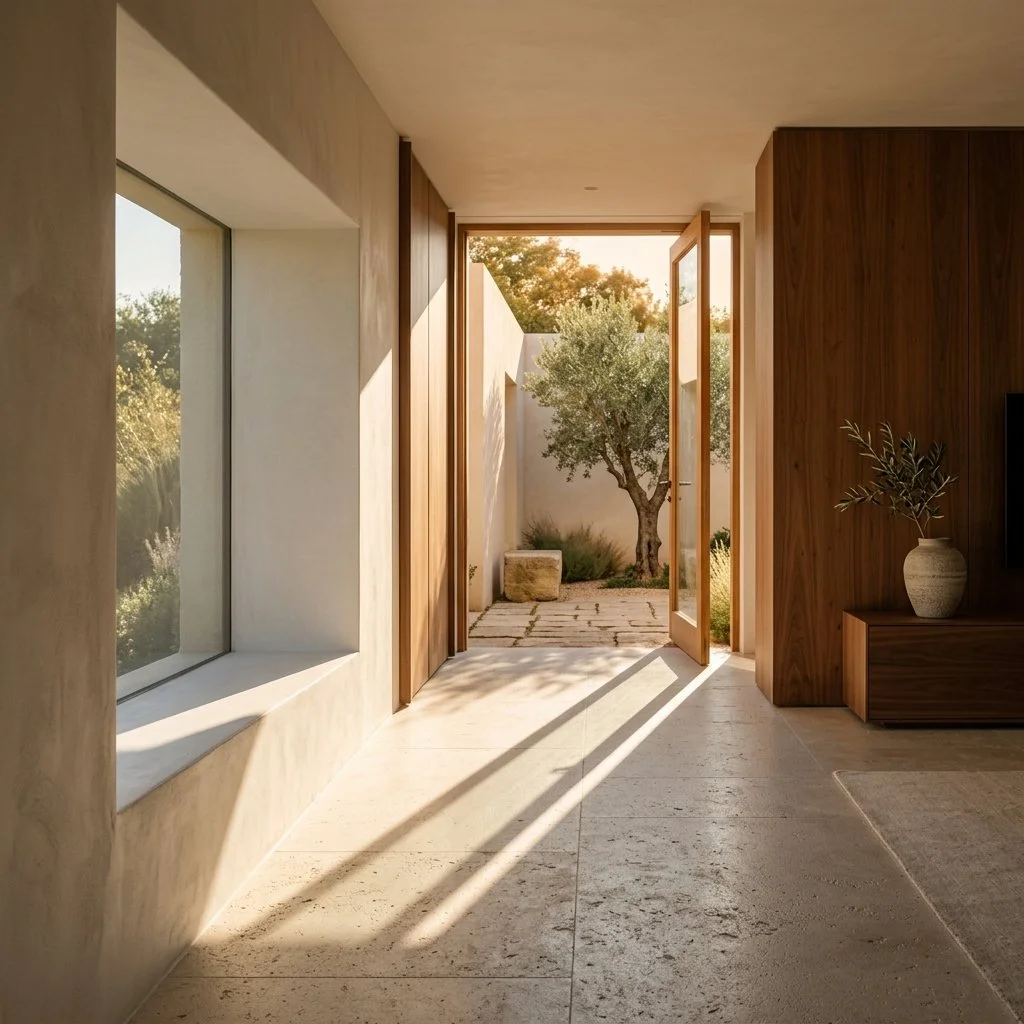
Interior featuring white plaster walls, warm walnut accents, and honed limestone floors illuminated by late afternoon sunlight.
The Wall as a Canvas
A clean architectural wall doesn't need art hung on it. It needs the sun. When I position openings to catch the day's movement rather than just to let light in, the wall itself becomes the changing element in the room. At ten in the morning, a shadow might fall in a thin diagonal line near the floor. By late afternoon, that same wall shows something else. The shadow has stretched and softened, and it crosses a different plane of the stone now. Stone especially rewards this. Raking light at a low angle catches the micro texture that direct overhead light flattens out, so the same slab of limestone or travertine can read as smooth at noon and geological at five o'clock.
Contrast as Comfort
There's a real psychological function to shadow that gets lost when a room is designed purely for brightness. A space that's lit uniformly in every corner feels exposed, almost clinical, the way an operating room or a big box store does. Shadow gives a room scale. It tells your eye where a hallway ends and something more private begins. Neither a wall nor a door has to do that work. I think of certain corners of a house as deliberately unlit, not because I ran out of fixtures, but because a room that never lets the eye rest anywhere never actually settles.
Controlling Where the Light Enters
I'm not looking for big windows. I'm looking for a specific, controlled point of entry. A narrow vertical slit does something completely different to a room than a niche set deep into the wall, even at the same square footage of glass. Architects call the depth of that opening the reveal. A deep reveal does real work. It blocks the sun through most of the day and lets it in only at one specific hour and angle, so the shadow it casts crosses the floor at nearly the same time every day, like a sundial. In hotter climates, a brise soleil does something similar on a larger scale. It's a fixed screen or a set of fins mounted outside the glass that filters direct sun into a pattern of shade, so the room still breathes. Control the entry point instead of just maximizing it. You're not letting the sun in. You're drawing with it.
The Weave That Filters It
Not every house gets to make these decisions at the architectural stage. Most of the time I'm working with existing openings, and that's where the textile does the job the wall can't. I keep coming back to handwoven Oaxacan cotton for this. Weavers there still work the backstrap loom, telar de cintura, a technique that predates the Spanish conquest by more than a thousand years. One end ties to a post, the other to the weaver's own waist, so her body supplies the tension. In Santo Tomás Jalieza, the town outside Oaxaca City where most of this weaving happens, Friday is still market day, when the number of women selling in the plaza roughly triples. That process produces a slightly irregular thread, nothing like the uniform thickness of a machine loom, and that irregularity is exactly what scatters harsh light into something softer instead of letting it pass through as a hard, flat shaft. Cloth woven on the treadle loom, worked by foot pedal and introduced later, gives a tighter, more even filter, useful in rooms that want the softening effect without much visible texture.
For the rooms where I want that atmosphere on demand rather than fixed in the fabric, motorized blinds do the technical version of the same job. One is a sheer weave that still moves with the air. The other is a full blackout panel for a room that needs to go completely dark. Both run off a single switch. It's the same instinct, applied with a switch instead of a loom.
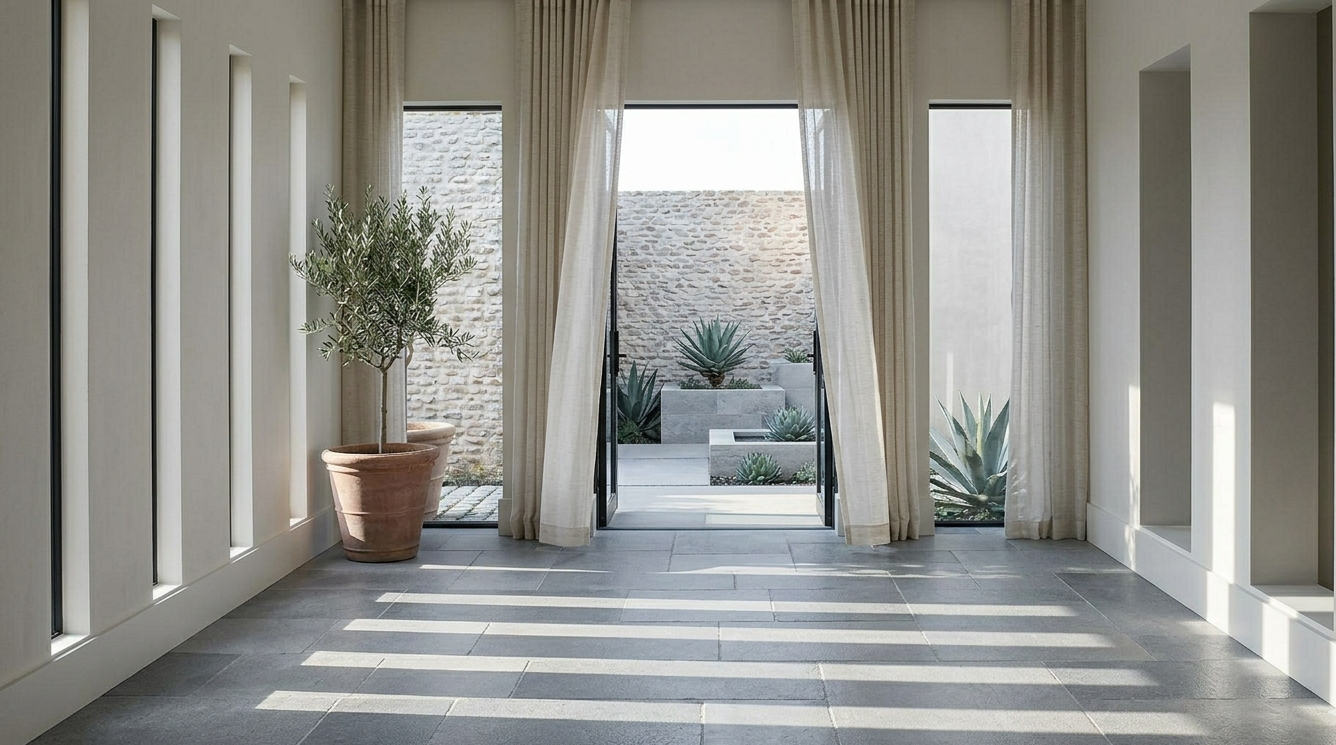
Windows cast shadows on a stone floor with natural fiber window treatments on an open door heading to a private courtyard.
The Sun Was Always the Material
Light itself costs nothing. What it does in a room, once you decide where to let it in and what to filter it through, is the actual design. I'd rather build a house around where the shadow falls at five o'clock than around how many lumens a fixture puts out. The sun was always the material. Everything else, the reveal and the weave in the curtain, is just how I've learned to shape it.
Not Every Room Deserves a Chandelier
Statement lighting is the final note in a room’s composition. Explore the Madison Prime standard for selecting fixtures with architectural scale and material depth.
Most statement fixtures in expensive houses are the wrong size. Not cheap, not ugly, just off by a few inches in a way nobody in the room can name. The homeowner blames the room. The room was never the problem.
Getting it right isn't a matter of taste. It's a small set of numbers, checked against the actual space, before style gets an opinion.
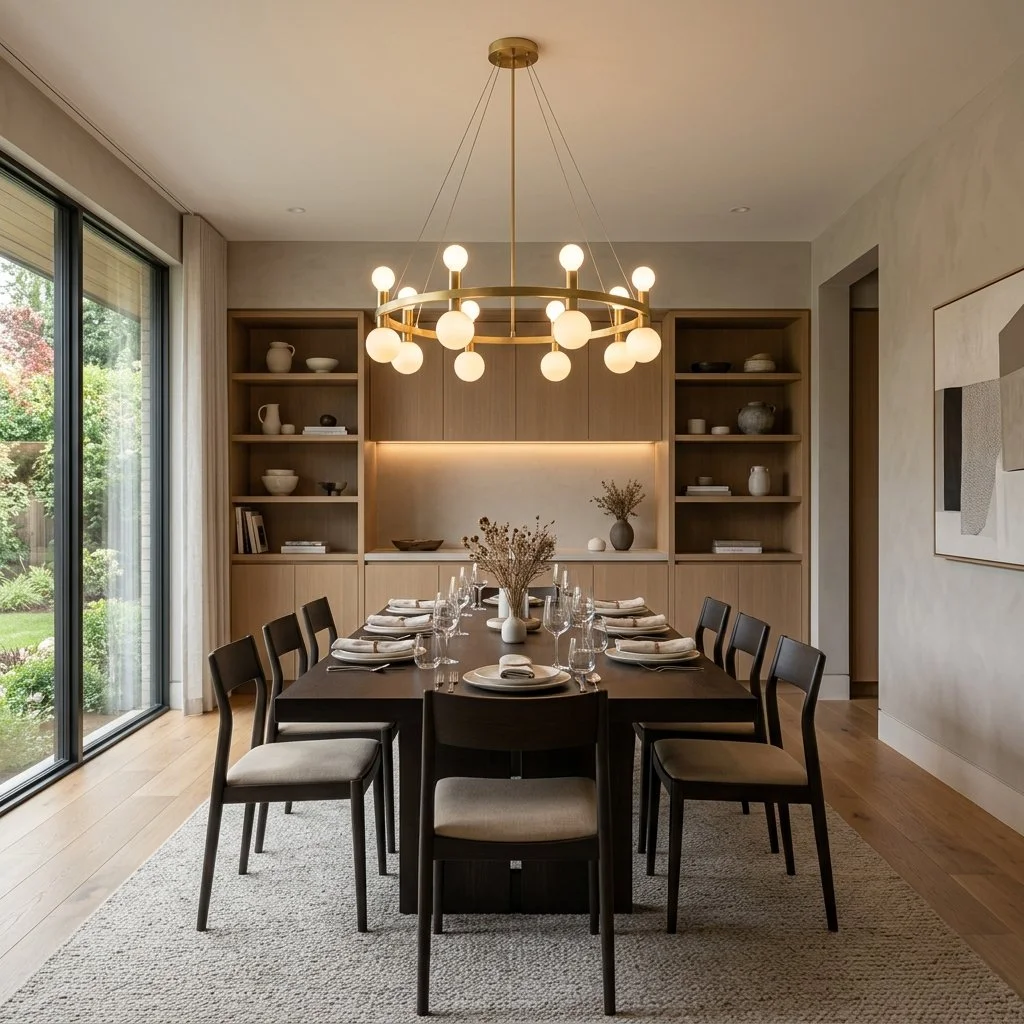
Dining room featuring a round brass chandelier centered directly above a dark rectangular dining table.
Sizing to the Room, Then to the Table
The starting formula is almost insultingly simple. Add the room's length and width in feet, and that sum in inches is roughly the fixture diameter to aim for. A room that measures twelve by fourteen feet points to a chandelier around twenty six inches across. It's a floor, not a verdict, and ceiling height and fixture density push it up or down from there, along with how ornate or spare the design itself reads up close.
Over a table, the room formula stops mattering and the table takes over. The fixture should run somewhere between half and two thirds of the table's width, narrower for round tables, and once it climbs past three quarters it starts crowding the chairs at either end. A four foot table wants a fixture in the twenty four to thirty two inch range, not a number borrowed from the room it sits in, the way I'd size a piece for a table discussed in The Centered Table.
Hanging It at the Right Height
Getting the diameter right and then hanging it wrong undoes all of it. Over a table, thirty to thirty six inches between the bottom of the fixture and the tabletop is the standard for an eight foot ceiling, with roughly three more inches of clearance added for every foot the ceiling gains beyond that. In a foyer or hallway, where people walk directly beneath the piece rather than sitting under it, the bottom of the fixture needs at least seven feet of clearance from the floor, full stop, regardless of how good it looks lower.
Speaking the Room's Material Language
Scale solved, the fixture still has to agree with the room it's in. A brass pendant, slim and unadorned, in a room built on straight lines and minimal trim reads as considered. Drop the same pendant into a room already carrying carved millwork and a heavier hand throughout, and it looks like it wandered in from a different house. The fixture doesn't need to match every other metal finish in the room. It needs to agree with the room's actual weight, ornate or restrained, and say so honestly rather than splitting the difference.
The Case for a Living Finish
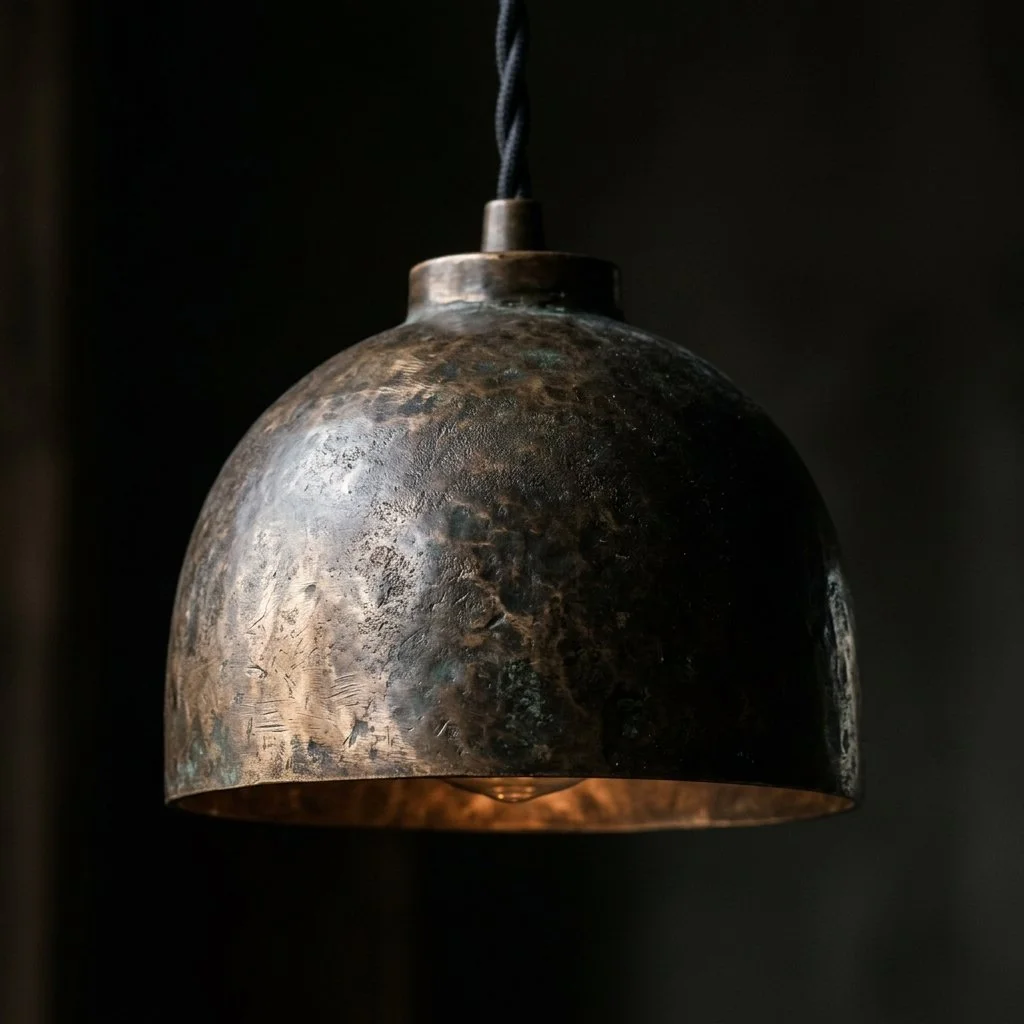
Bronze and brass earn their place here because they're chemically alive, not because they look expensive. A hand applied patina isn't paint. It's an oxidizing agent set loose on the metal and allowed to react, which means no two fixtures finish identically even off the same production run, and the surface keeps shifting slightly for as long as the piece is in the house. Left alone it can dull. A little wax every so often is what keeps the color from going flat, and that small bit of upkeep is part of what a real finish costs, not a flaw in it.
Single bronze pendant light fixture with a naturally patinated surface.
One Point Inside a Larger Plan
A statement fixture that ignores everything else in the room stops working the moment it's switched on alone. A dining fixture still has to throw a soft, even glow across the table it hangs over. An entry fixture still has to get someone from the front door into the house without a hard edge of brightness in between. None of that changes because the fixture is also the room's focal point. The showpiece has to fit inside it.
Let the Room Ask First
Every rule here runs the same direction: the room decides, then the fixture answers. Start with the room's own math, not with what looks good in a showroom. The table narrows the diameter if there's a table involved. The ceiling sets the height, no matter how good the fixture looks lower. Material comes last, once both of those are settled. A beautiful chandelier hung by guesswork in a room that never asked for it just sits there being expensive. The right one looks like the room couldn't have worked without it.

The Geometry of Light
Discover the Madison Prime principles of strategic lighting placement. Learn how to balance function and beauty through architectural lighting geometry.
A shadow cutting across the top of a painting tells me the fixture was switched on, never actually aimed. A bedside lamp that blinds instead of glows tells me it was guessed at, never measured. Both come from the same mistake: treating placement as an afterthought to the fixture itself, when it's the whole decision.
Move an accent fixture from twelve inches off a wall to thirty, and the wall changes character completely. Close in, aimed at a narrow angle, the light rakes across stone or plaster and turns every ridge into a shadow. Pulled back and widened, that same beam smooths the surface into an even, unbroken wash. Same wall, same bulb. The eighteen inches in between decided everything.
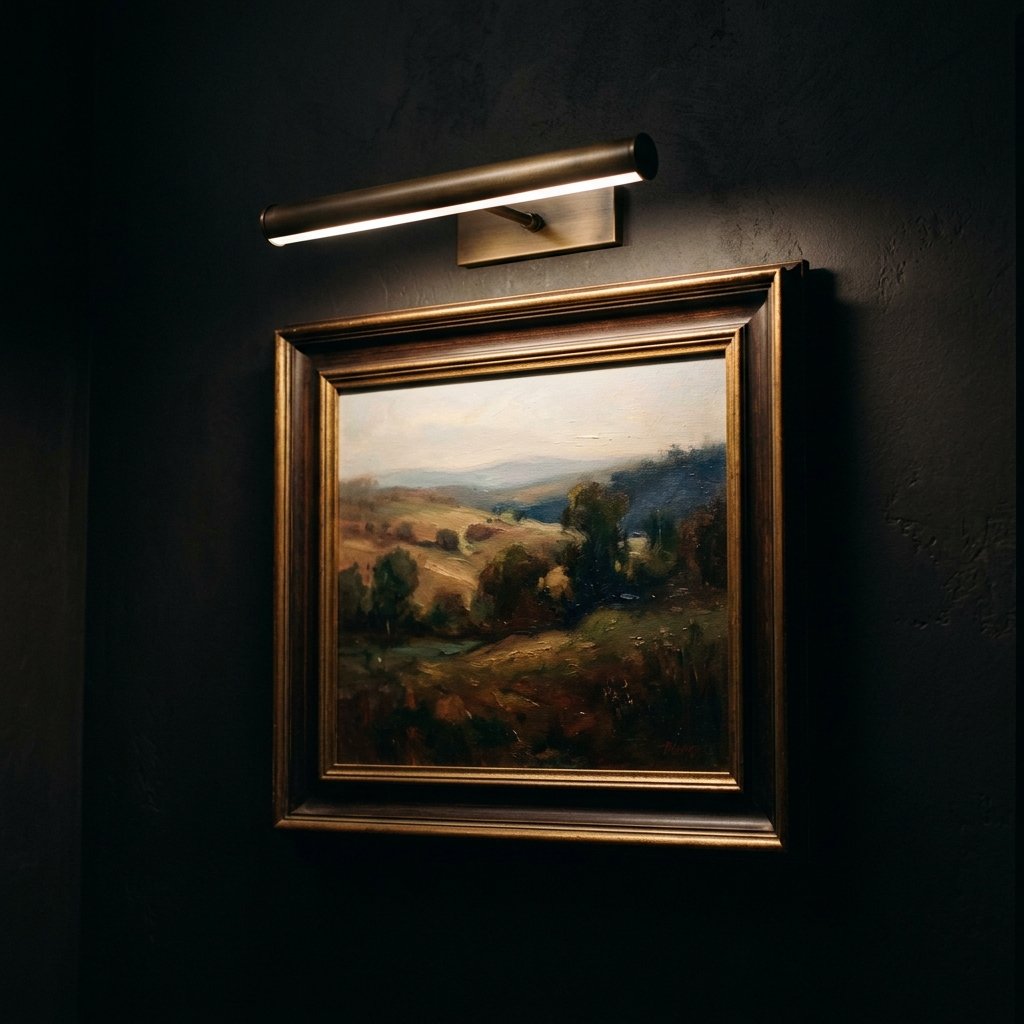
Aged brass picture light mounted on a dark wall casts a soft, warm glow downward across a framed painting.
Finding the Point Worth Lighting
Effective accent light runs three to five times brighter than the ambient level around it. That contrast, not the fixture itself, is what tells the eye where to look. Undershoot the ratio and the highlighted piece disappears back into the room. Overshoot it and the piece reads as spotlit rather than considered, more showroom than home.
For a painting or a piece of sculpture, angle matters as much as intensity. A picture light aimed at roughly 30 degrees off vertical lights the surface evenly and keeps the beam from bouncing straight back into the room as glare off glass or varnish. Steeper than that and the top of the frame goes dark. Flatter and the reflection lands exactly where a viewer would stand to look at it.
Building Height Into the Room
A room lit from one point never feels finished, no matter how good that point is. Cinematographers solved this generations ago, not with one dominant light but with sources set at different heights and angles that work against each other on purpose. Residential lighting borrows the same logic without the vocabulary: a floor lamp at knee height and a sconce aimed at art or millwork at shoulder height put light into a room from different elevations than an overhead fixture ever will. Light entering a room from several elevations reads as depth to the eye. One central fixture, however handsome, flattens everything beneath it into the same plane.
Skimming a Surface Versus Smoothing It
Grazing and washing get confused constantly because they use the same equipment aimed differently. Grazing places the fixture close, six to twelve inches off the wall, with a narrow beam of fifteen to twenty five degrees. At that distance and angle, light rakes across the surface and throws shadow into every imperfection, which is exactly the point on rough plaster, stacked stone, or reclaimed wood. Washing pulls the same fixture back to two or three feet and widens the beam to forty or sixty degrees, and the shadows disappear. What's left is even coverage, the right choice for a smooth wall meant to read as a backdrop rather than a surface with texture of its own. Choosing between the two isn't really a style decision. It's a measurement.
The Sanctuary Standard
Nowhere does placement matter more than beside a bed. A sconce mounted at the standard living room height of five feet off the floor sits nowhere near where a reader's shoulder actually ends up once they're propped against pillows. The number that works instead is measured from the mattress, not the floor: thirty to thirty six inches above the mattress top, six to twelve inches out from its edge. That range puts the light source above shoulder height when sitting up, low enough to fall across a page, and out of the sightline when lying back down to sleep. Get it right and nobody notices the sconce is there. Get it wrong and either the bulb stares back at whoever is trying to sleep, or the light never quite reaches the book.
An articulating brass sconce casts soft downward light over a crisp linen bed.
The Planning Sequence
None of this gets decided fixture by fixture in a showroom. It starts with mapping what each zone in a room is actually for before a single light gets chosen, then layering the three tones described in The Composition of Light with intention instead of symmetry. A dining table and a reading chair eight feet apart rarely need identical treatment, even inside the same room. The last check is simpler than either of those: stand in the doorway with everything switched on and ask whether the room still has somewhere for the eye to rest, or whether every surface is doing something at once.
Measure First, Buy Second
A house full of beautiful fixtures can still feel wrong if none of them sit where the room actually needs them. I'd rather walk a room with a tape measure than a catalog. The distance off a wall, the angle off vertical: that's what turns good equipment into a room that works. Buy the fixture last.
The Composition of Light
Lighting is more than illumination; it is the creation of depth. Explore the composition of light, from the foundation of ambient glow to the subtle drama of accents.
I think about a room's lighting as three separate jobs, not three versions of the same fixture. Confuse the jobs and you get a space that's either flat and shadowless or, worse, unevenly lit in a way nobody can quite name. Get them right and the room reads as put together, not stitched together, layer by layer.
A kitchen island needs about 50 footcandles of light to chop something safely. The armchair eight feet away needs a fifth of that. Most rooms treat every corner the same, and the eye can always tell.
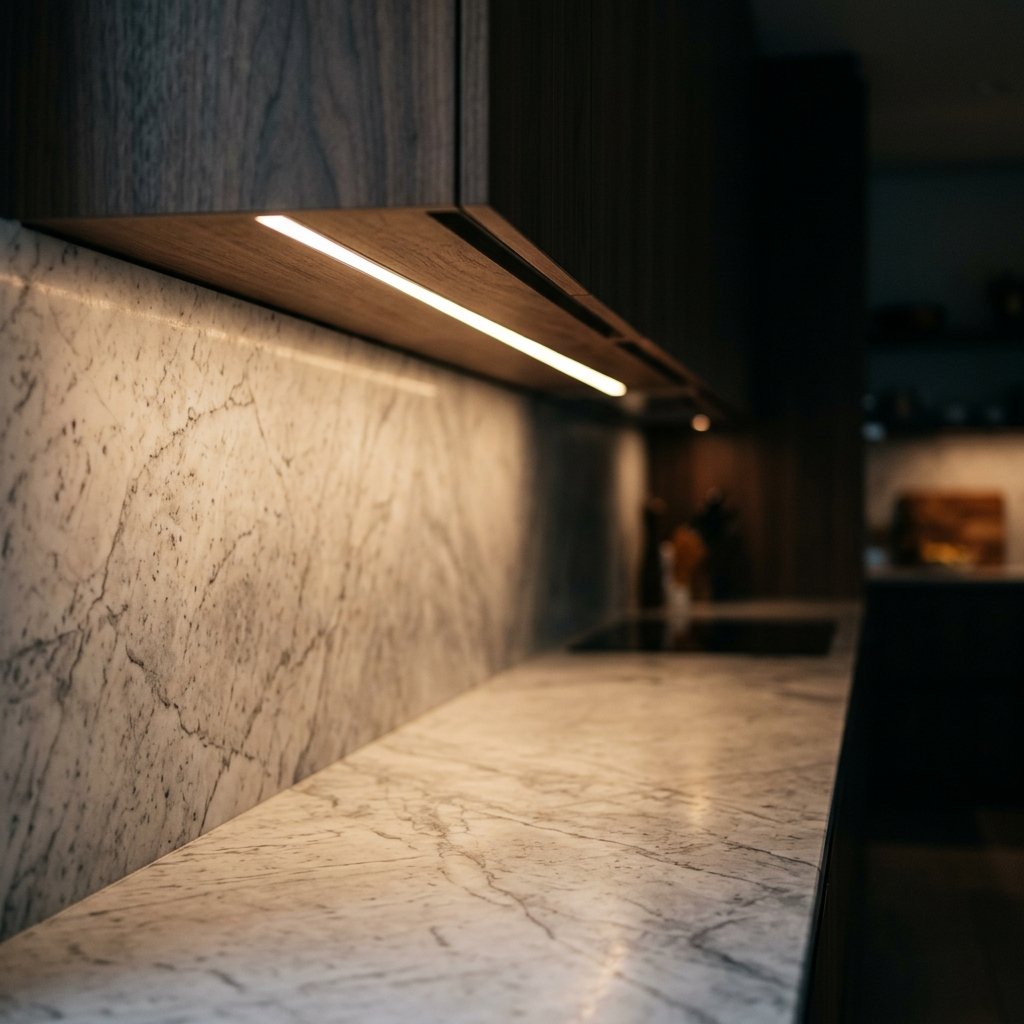
Recessed LED strip under a dark wooden cabinet, illuminating the rich veining of a honed marble countertop with warm, even light.
The Baseline: Ambient Light
Ambient is the light that establishes what the room looks like before anyone does anything in it. It should sit low and even, somewhere in the 10 to 20 footcandle range for a living room or bedroom, which is genuinely dim compared to a kitchen, where the IES recommends 30 to 40 footcandles just for general coverage. That's dim enough to see the room by, not read fine print in it.
Color temperature matters more here than anywhere else, because ambient is the light every other layer gets judged against. Most residential interiors land between 2700K and 3000K, warm enough to flatter skin and wood without tipping into the amber cast of pure candlelight. Recessed architectural downlights do this job well, and so does cove lighting run above crown detail. Either one needs to sit on a dimmable circuit, or the fixed level becomes a mistake in a room that's used for both dinner parties and Tuesday mornings.
The Layer That Gets Requested: Task Light
Task is the layer clients actually notice missing, usually the first time they try to read in a chair or chop something on an island lit only from above. The IES puts kitchen prep surfaces at 50 to 100 footcandles and reading areas at 20 to 50, both well above ambient levels, which is the whole point.
This is also where decorative choices fail on function. A pendant scaled for looks over an island frequently doesn't put out enough lumens to actually do task work, which is a real and common design error, not a matter of taste. Linear LED strips run under cabinets solve counter work without adding visual clutter, and a gooseneck or articulating lamp does more for a reading chair than a second ambient fixture ever will. The test for any task fixture is simple: does it hit the number at the surface where the work happens, not just brighten the general area.
Accent, Used With Restraint
Accent is the layer with the least amount of light and the most amount of judgment involved in placing it. Its job is to direct attention toward something specific, a run of millwork or a single piece of art, and it fails the moment it starts competing with task or ambient instead of pointing toward something.
Color rendering index matters more here than brightness. A high CRI source, generally 90 or above, is what lets a picture light show a canvas's actual pigment instead of a washed-out approximation, and what lets an uplight run at low voltage reveal real texture in a stone wall instead of flattening it. Picture lights belong in this layer. So do hidden uplights run along vertical texture, and an occasional structural wall sconce. What doesn't belong is treating accent as a second ambient source; if it's making the room brighter, it's doing the wrong job.
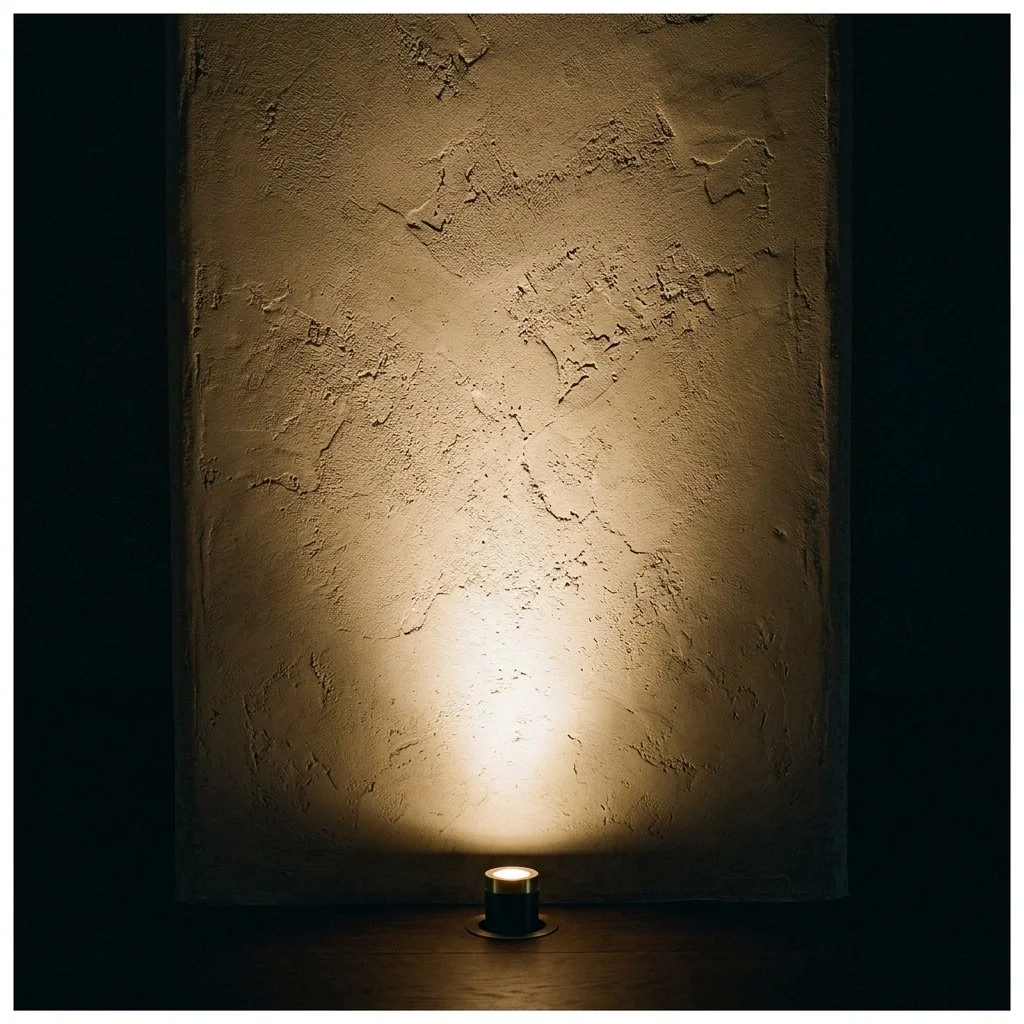
Small in ground uplight casting warm, grazing illumination up a heavily textured plaster wall surrounded by deep shadow.
Keeping the Numbers Honest Across the Room
Mismatched temperature between otherwise fine layers is the most common failure I see, more often than an actual missing layer. A 2700K recessed can next to a 4000K strip under the cabinet reads as wrong even to someone who couldn't tell you why. Manufacturers who build for professional specification, USAI is one real example, sell entire product platforms locked to a single static Kelvin option across every fixture type, precisely so a designer can hold 2700K or 3000K constant on the recessed can, the task strip, and the accent sconce alike, without hunting for matching bulbs later. That consistency is a spec decision, made once, at the start of a lighting plan, not something fixed after the fact with warmer bulbs in one lamp.
Ask for the Number
None of this requires more fixtures or a bigger budget. It requires knowing what number a surface is supposed to hit and checking that the Kelvin rating is the same across every layer in the room. That onion still needs its 50 footcandles. The chair next to it still only needs ten.
The Sculpting of Light
Lighting is the invisible bridge between architecture and emotion. Explore the principles of layered illumination, material integrity, and the strategic curation of atmosphere."
Most of what makes a room feel expensive has nothing to do with what's in it. It's what's lighting it, and how.
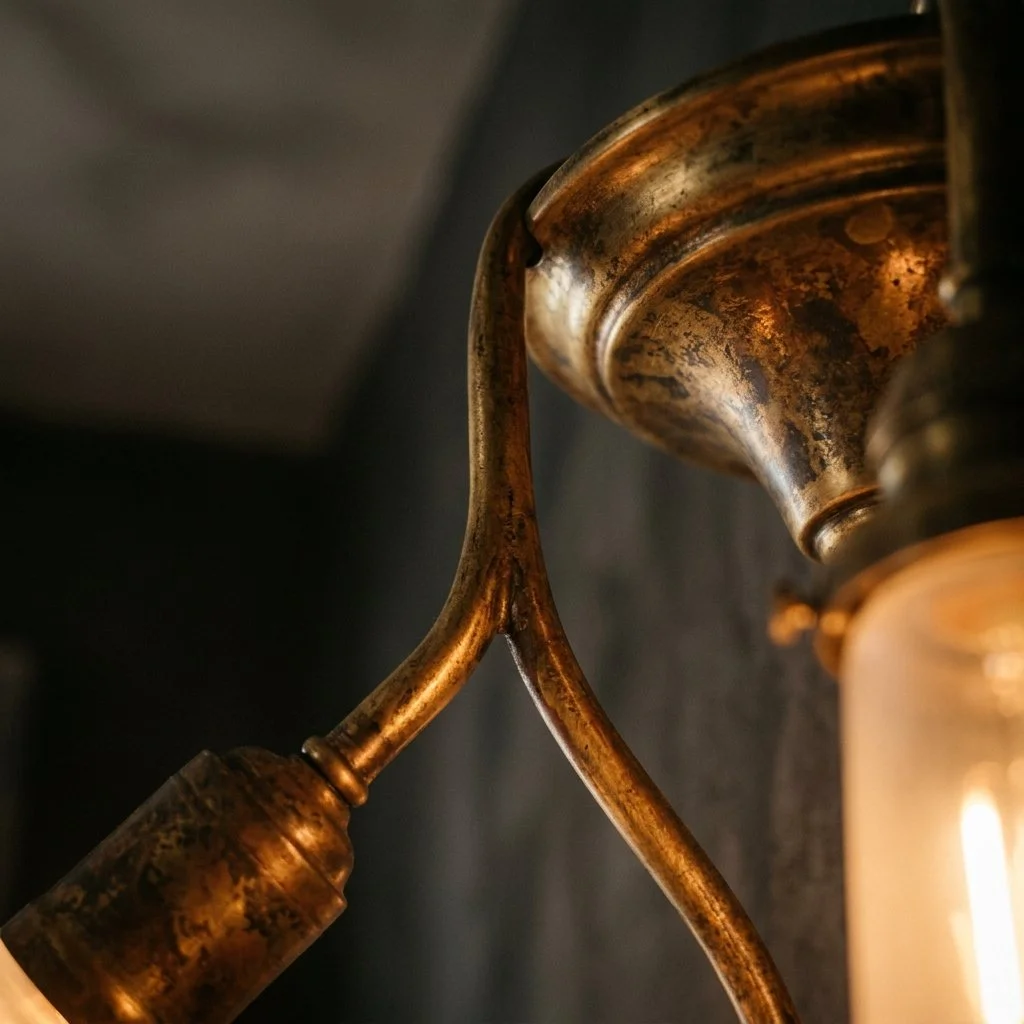
Unlacquered brass light fixture featuring natural oxidation, rich tarnish variations, and a warm 2700K ambient glow.
Provenance, Even in the Fixture
I keep to a warm white, close to 2700 Kelvin, the standard for a residential space you actually want to relax in, and I dim it rather than run it at full output all day. But temperature alone doesn't make a fixture worth having. What separates a real piece from a mass produced one is what it's made of. Alabaster and unlacquered brass carry weight that a resin knockoff can't fake. Brass left unlacquered will darken and patina from ordinary exposure to air; it won't rust, and that's not a flaw. It's the finish doing exactly what it's supposed to do. Alabaster, when a light source sits behind it, doesn't just glow. It shows its own veining, the same way a slab of stone does under the right angle. These are the same standards I hold to everywhere in the home, hardware included. The fixture has to earn the same trust as the light it's throwing.
Not Every Corner Gets the Same Light
A room reads better when light isn't distributed evenly across it. Ambient, task, and accent light each do a different job, and a room that layers them well stops leaning on furniture to define its own shape.
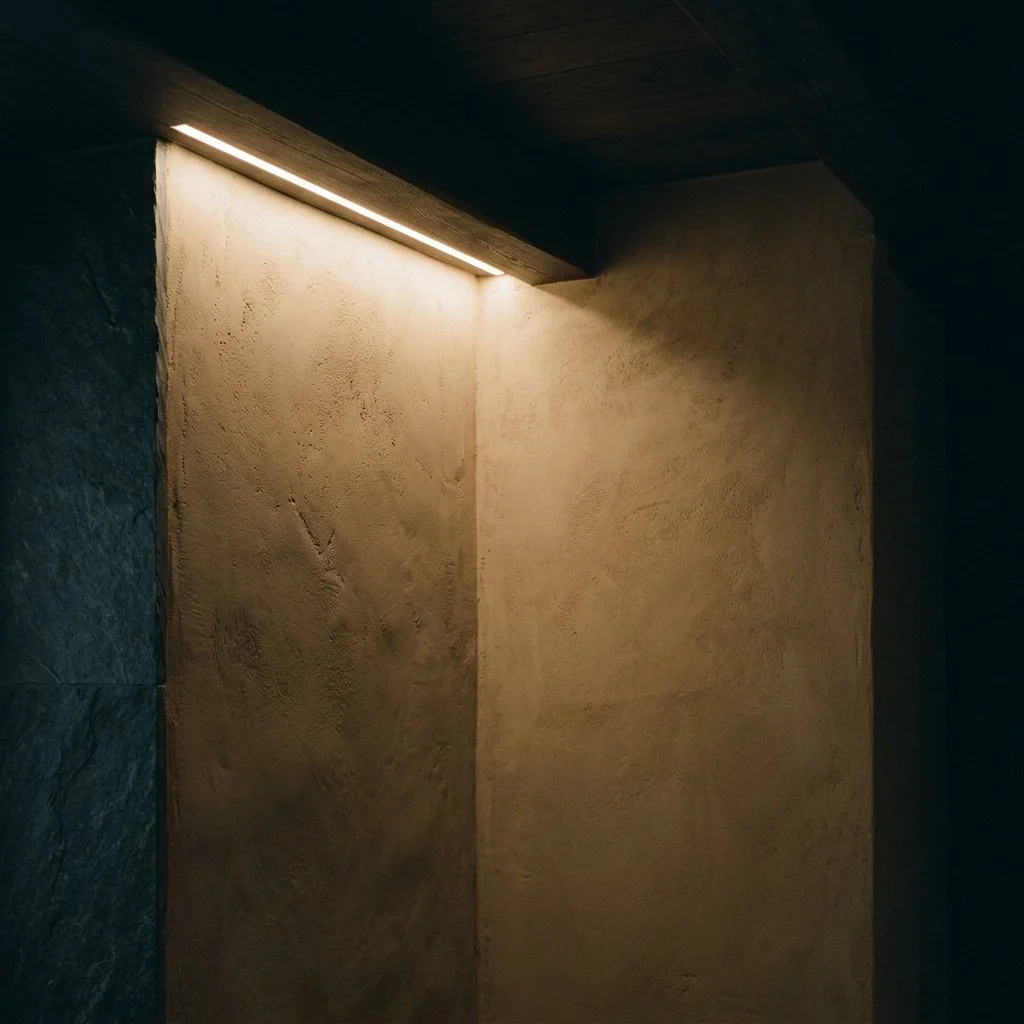
Aceiling cove with soft, warm 2700K light washing down a textured plaster wall set against deep evening shadows.
Fixtures That Disappear Into the Architecture
The real work is in what disappears entirely. A ceiling reveal can hide an LED channel completely. A sconce sits flush against the wall instead of mounted on top of it. Getting the dimming right usually means wiring it into the architecture from the start, not bolting it on after the fact. None of it announces itself, and that's the point. It's not about spectacle. It's about being able to shift a room from working light to evening light without anyone seeing the mechanism behind it.
What I Choose Not to Light
Restraint is the real skill here, more than fixture selection ever will be. Placing light with intention, and then leaving the rest of a room in shadow on purpose, is what separates a considered space from one that's simply bright. What stays dark matters as much as what you choose to illuminate.