Trimless Lighting Starts in the Plaster
A trimless light line is a slot of light set into a ceiling or wall with no visible frame, and the hardest part of it is the drywall around it. Whether it still looks clean years later depends on the finish level and on where the drivers end up. Trimless describes the look. Mud in describes the method, the aluminum profile goes up before the finish, and its perforated flanges disappear under joint compound. That makes the plaster finisher the person who actually shapes the edge of the light. When I looked into how these lines fail, most of it traced back to the handoffs between trades that rarely talk to each other.
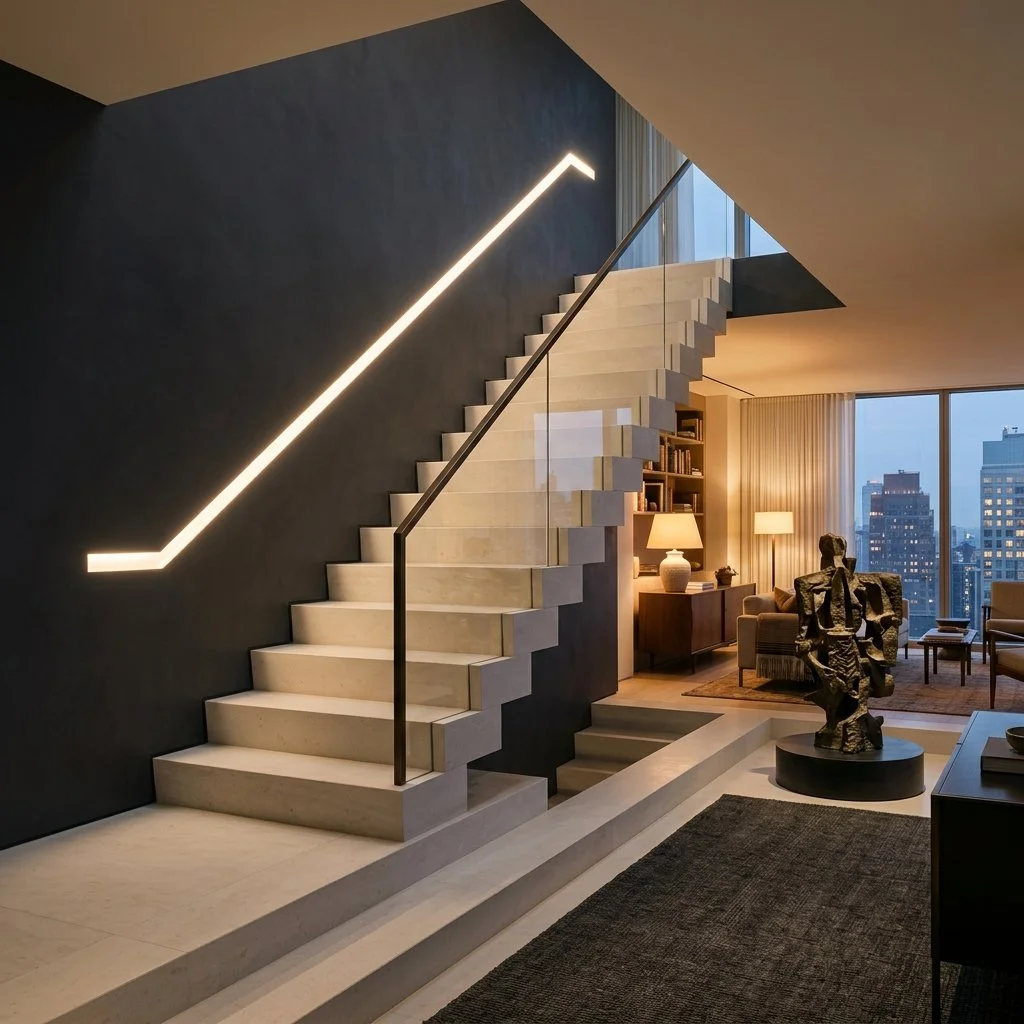
A city penthouse stairwell crafted from pale limestone features a smooth plaster wall with a continuous line of flush warm light.
The Line Exposes the Ceiling Around It
A line set flush in a ceiling throws light across the surface at a very low angle. The drywall trade calls this critical lighting. At that angle the outline of every taped joint shows, and so does any patch where the compound took paint differently than the paper beside it. Dark paint makes it worse, which matters the moment a client wants the ceiling in ink blue.
Under the Gypsum Association's finish levels, Level 4 is the standard for most projects, and National Gypsum notes its imperfections can show under harsh light. Level 5 adds a skim coat of compound over the entire surface. The Drywall Finishing Council goes a step further and says a Level 5 surface should be judged under its final lighting. Put that in the spec, so the walkthrough happens with the line switched on instead of under a work lamp.
Why Trimless Profiles Crack
When a crack opens along the line, the profile usually gets blamed. One installation guide for plasterboard profiles traces cracks to the work around the profile, or to the house moving. Dust left in the groove after cutting keeps the compound from bonding. A profile fastened more loosely than the board beside it gives when the structure shifts. The guide calls for fastening the profile as firmly as the gypsum board, with a screw every 20 to 30 centimeters on each side, and covering the opening before plastering starts.
Some systems ship with a sacrificial diffuser, a throwaway lens that protects the LEDs during the finishing work and gets swapped for the permanent one at the end. Others rely on contractor's tape over the channel, and one maker's own instructions warn against leaving it on more than a week. Ask which kind you are specifying.
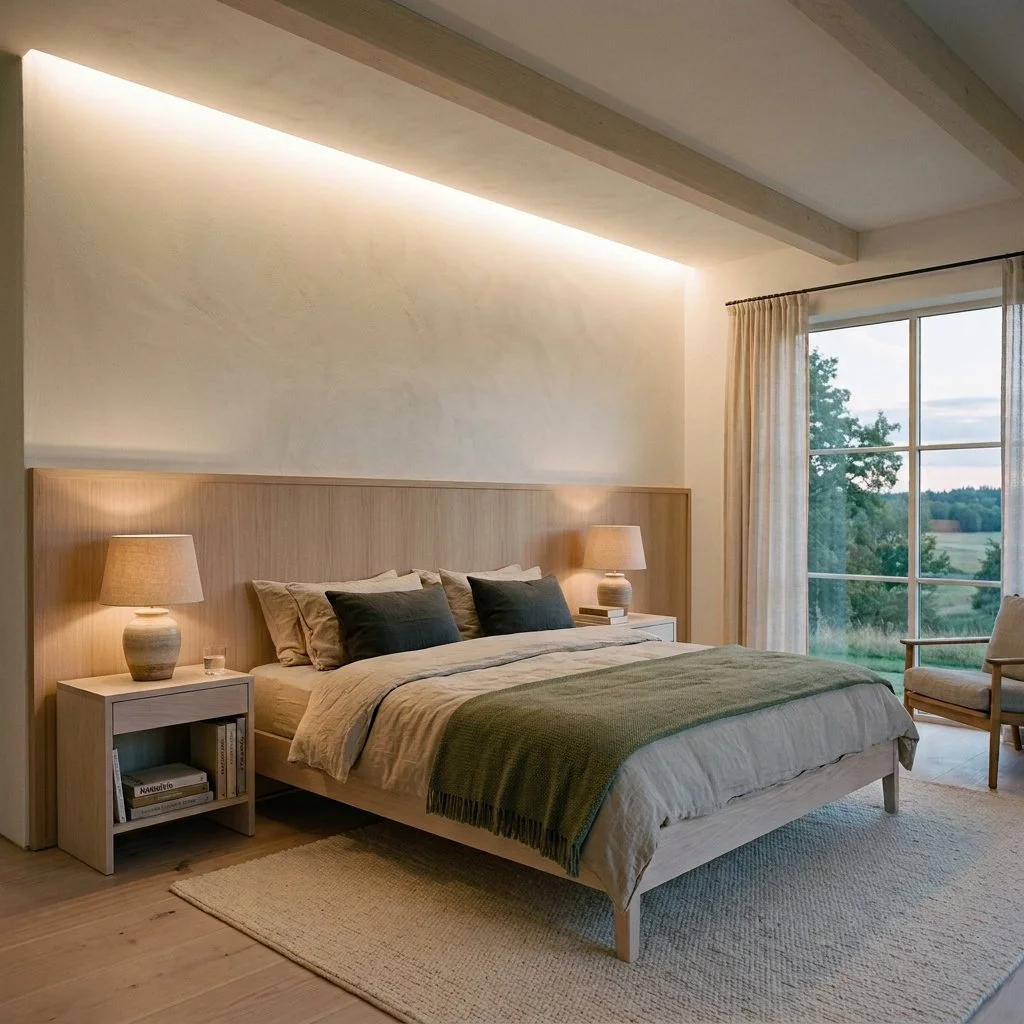
Swedish country bedroom, a mid height pale wood panel headboard, flush ceiling lighting, and a large window.
Plan for the Day Something Fails
The LEDs are only half the system. A driver steps line voltage down to the low voltage the line runs on, and each driver feeds a limited length. One manufacturer's layout shows a 96 watt supply covering about 12 feet of its brighter line. A long ceiling run means several drivers, and each one needs a home.
If that home is sealed above a finished ceiling, replacing a driver means cutting into plaster that just got a skim coat. One integrator's installation standard requires every driver to sit behind a removable panel that opens without damaging the finish, with slack cable left at each location.
The light source deserves the same question. Some systems built to be plastered in list field replaceable LED boards. Others have tape adhered inside the channel once the plaster is done. An industry standard for swappable linear LED modules does exist, but the first products certified to it are commercial fixtures, and I found nothing applying it to a line set into a residential ceiling.
Someone Has to Own the Line
The electrician wires what the drawings show, and the finisher works to whatever level the spec names, but neither one controls the angle the light hits the ceiling.
The fix fits on one page, issued before the drywall goes up. Give the finisher the profile's installation sheet. Specify Level 5 on every surface the line touches, and schedule its inspection for after the line is live. Mark each driver and its access panel on the drawings, and choose a profile that protects the LEDs during finishing and lets the boards be replaced later. Then put one name beside the line itself. On a project with a lighting designer, that is usually the designer. On a project without one, it is whoever wrote the spec, which is often you.